RSS Feed

  1. Here is our second free project of the month, a easter button wreath!

    Carole & Gina

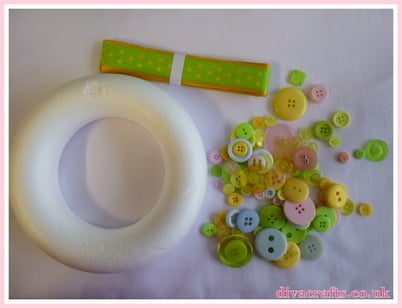
    You will need:  wreath (full or half, either will do) ribbon, buttons, glue gun & glue.

    button wreath free tutorial diva crafts

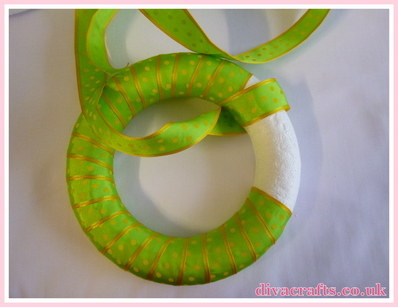
    Step 1: Cover your wreath with ribbon and glue the ends to secure.

    button wreath free tutorial diva crafts (1)

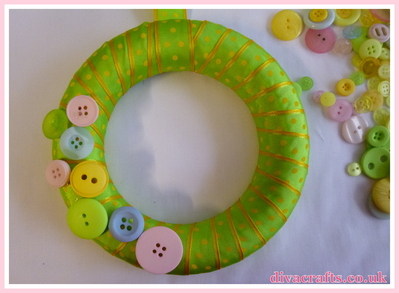
    Step 2: Start gluing on the large buttons first 

    button wreath free tutorial diva crafts (2)

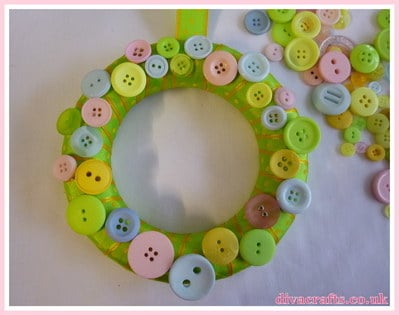
    Step 3: add some medium, buttons to fill the wreath

    button wreath free tutorial diva crafts (3)

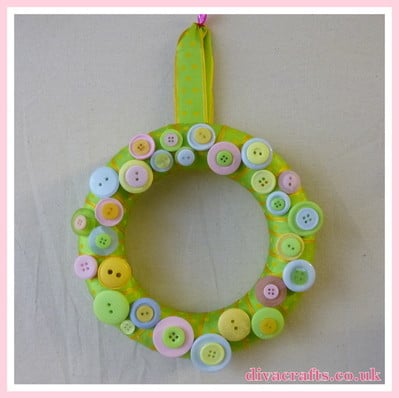
    Step 4: add some smaller buttons on top of the larger buttons for some depth. And then make a ribbon loop for hanging!

    button wreath free tutorial diva crafts (4)


  2. Happy March everyone! we have two fabulous free tutorials for you today! First we have the easter egg cone, and our second project is how to make an easter button wreath. Happy crafting

    Carole & Gina

    You will need: Paper, two different fabrics, sewing machine, needle & thread, buttons/embellishments and ribbon.

    Step 1: Making your cone template. This is really easy to do, draw a "slice" (think cake) on a piece of paper, fold over one edge so it's doubled, and cut it out.
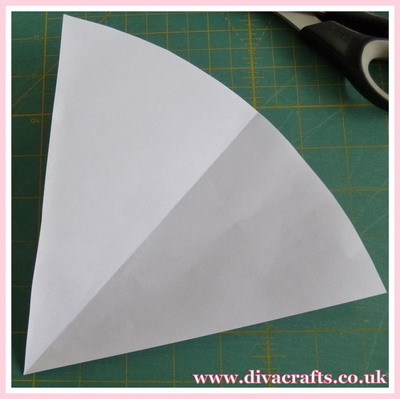
    easter egg cone free project diva crafts (1)

    Step 2: Cut one cone shape out from both of your fabrics, then machine alone the top edge with the "right" sides together, and clip the edge with care making sure you do not cut the stitches.
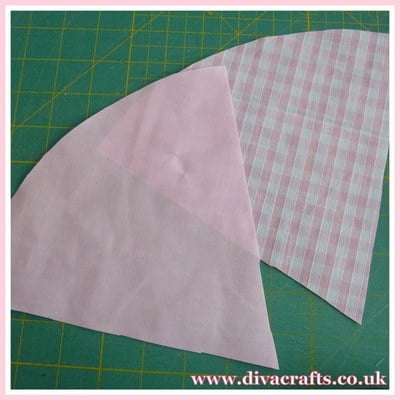
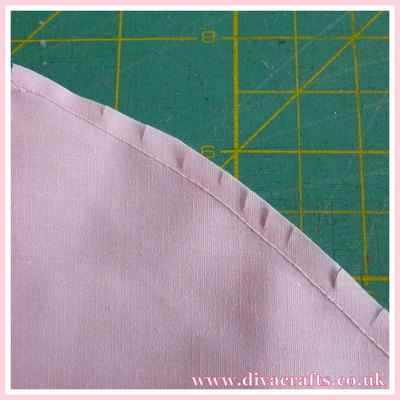
    easter egg cone free project diva crafts (2) 

    easter egg cone free project diva crafts (3)

    Step 3: Open out the cone (see picture) and fold over, still with the right sides together. And now place 2 pins slightly apart on the plain coloured fabric, and sew along this edge, but leaving the piece between the 2 pins open (this is used for turning).
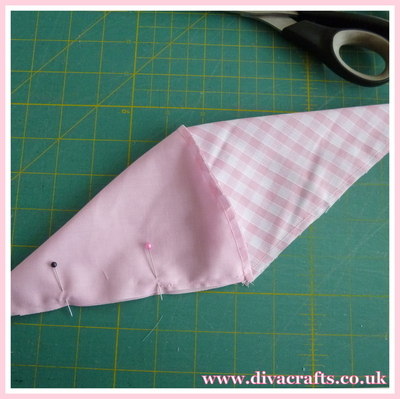
    easter egg cone free project diva crafts (4)

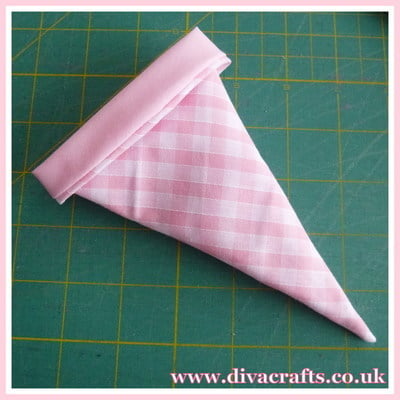
    Step 4: Carefully turn your cone the right way out, through the gap. Hand sew or machine the gap closed, and then carefully push the plain coloured fabric inside. See picture, I have also turned down the top a little.
    easter egg cone free project diva crafts (6)

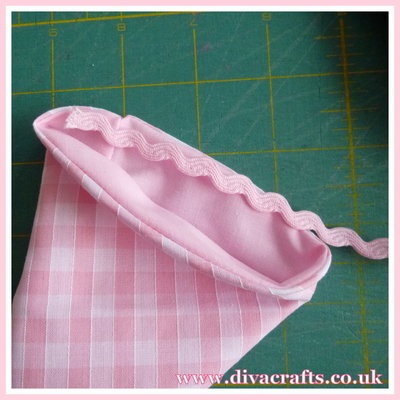
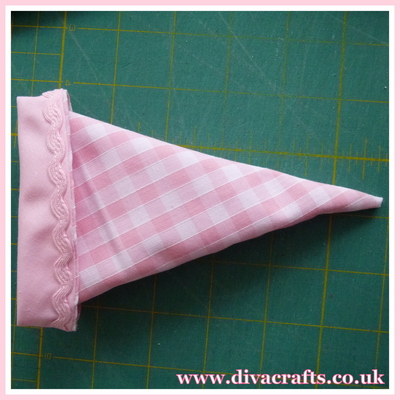
    Step 5: How to decorate your cone. You can add anything you like to your cone, I have sew on some ric rac on the inside of the top, so when you fold the top down it can be seen. I have also added some ribbon handles and sew some buttons on them to hide the edge of them.
    easter egg cone free project diva crafts (7)

    easter egg cone free project diva crafts (8)

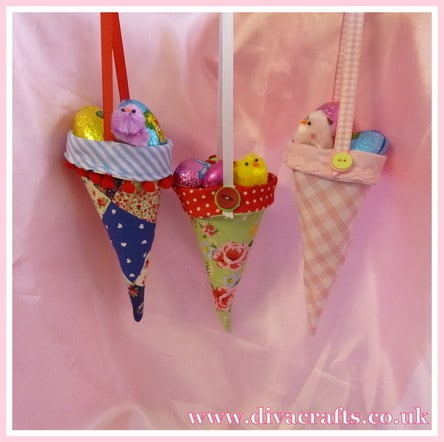
    Here are some finished cones! we have filled them with easter eggs for the children. Or you could add some chocolates, gift vouchers or soaps for mum for mother's day!
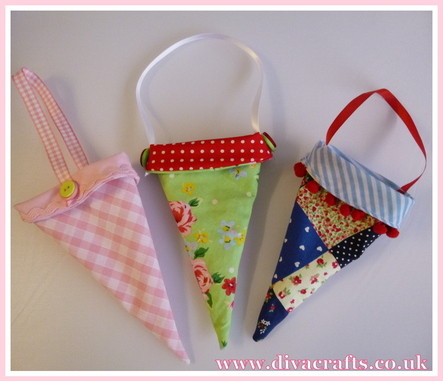
    easter egg cone free project diva crafts (9) 

    easter egg cone free project diva crafts (10)

  3. Hi everyone, happy valentines day! Here is a quick mid-month round up of our newsest products!

    Carole & Gina

    8 piece sparkle fabric bundle - click here

    Lilac spotty lace edge bias binding - click here

    Navy spotty lace edge bias binding - click here

    White with lace edge bias binding - click here

    Cream with lace edge bias binding - click here

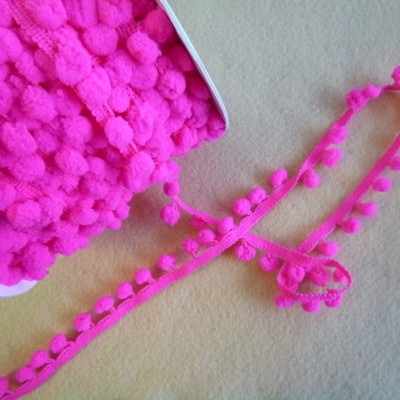
    Baby pink pom pom trim - click here

    Sky blue pom pom trim - click here

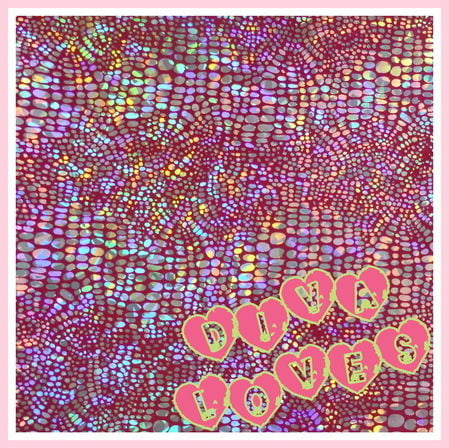
  4. Have you seen our fabulous new range of sparkle and lycra fabrics? We have beautiful new sparkly fabrics, which are great for harumika, crafting, dress making and they are very popular with dancers and ice skaters for costumes. This weeks Diva Loves is focusing on the cerise snake print fabric, a bargain at only £3.99 a metre! to view all of our sparkle fabrics please click here.

    cerise snake skin polyester fabric diva crafts diva loves week 15

  5. Hi everyone, we have a very romantic themed project for you this month, heart bunting! This is super easy to make and doesn't take very long.

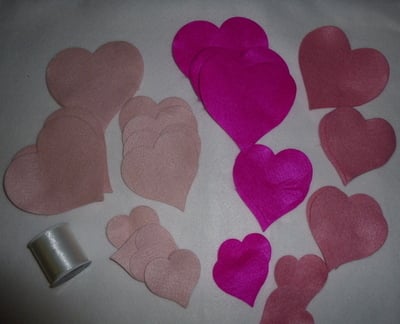
    You will need, hearts (we used felt hearts, but we have also made one with scrapbooking papers/cardstock). Invisable thread for the sewing machine.

    heart bunting diva crafts free project (1)

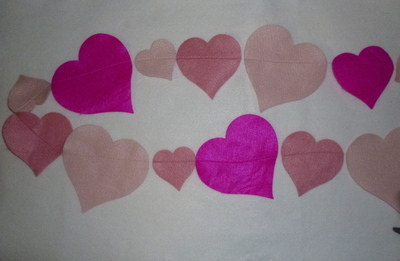
    All you need to do is line up your hearts so they overlap slightly at the edges and sew along the top about 1/3 down. Just to make sure all of the smaller hearts are attatched to the bigger hearts. This will be done in no time at all. And of course you can change the colours to make a pretty gift for a new mum for a nursery!

    Here's the finished item. On the table. Now if you have ever been into our shop you will see this hanging up along our ideas board!

    heart bunting diva crafts free project (2)

    Happy February

    Carole & Gina