Sewing Roll Organizer - Free project of the month
Posted on
This month's free project is how to make a sewing roll organzier. You will need: fabrics, ribbon, felt, thread, needle & sewing machine.
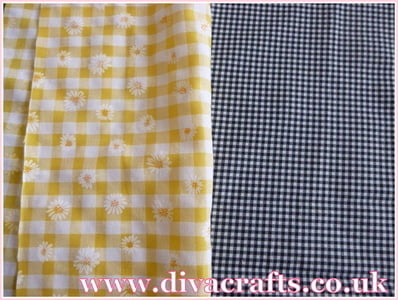
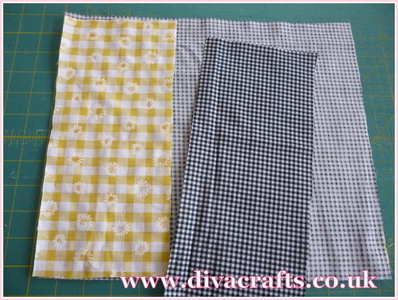
Step 1: cut 2 oblongs of fabric (mine were slightly bigger than A4) now cut 4 pieces of fabric ( 2 for each pocket) or one piece folded over, I used the black check as the inside of my pocket. take 2 pieces of pocket fabric and sew together down the long side, turn and press, do the same with the other side.
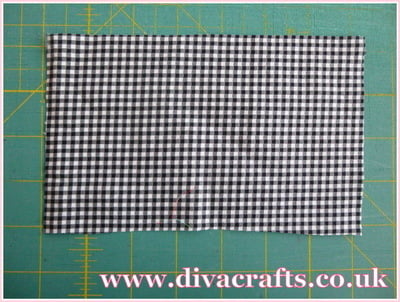
Step 2: cut an oblong ( this will be the pin cushion, ) fold in half and sew around the edge but leave an opening for turning. once turned stuff and sew up the opening.
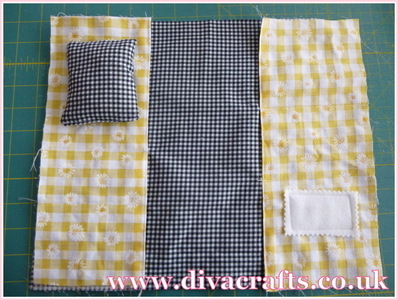
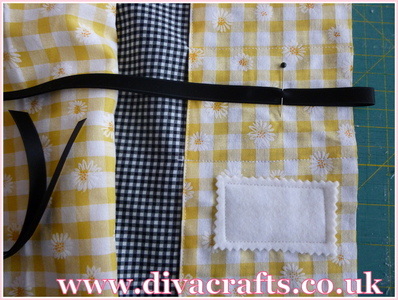
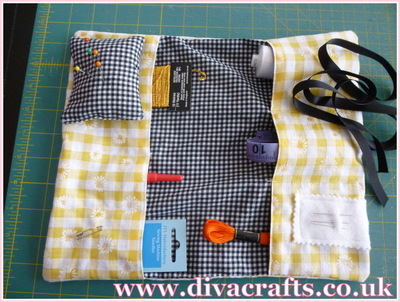
Step 3: place a pocket on each side, I decided to sew lines to make smaller pockets, its entirely up to you, depends what you want to fill it with. I hand sewed the pin cushion to the pocket, take care not to sew all the way through, or else you wont be able to use a pocket I added a small felt oblong for putting needles in,
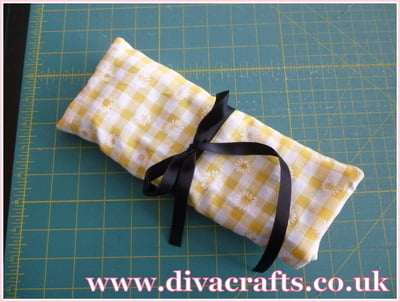
Step 4: Take some ribbon and place it on one side , this will be used for tying the roll up. take care not to catch the ribbon when sewing.
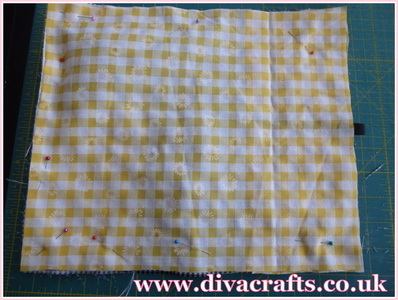
Step 5: Then take the other oblong fabric and place right side down, pin, and sew, leaving an opening for turning turn the fabric the right way and sew up the seam.
Step 6: Fill your bag up with all your favourite bits and bobs!
Add a comment: