September Project
Posted on
Hi everyone, for this month we are focusing on the 16 piece fabric pack. Our free project this month is how to make a fabric box! Below you will find easy to follow instructions. Carole & Gina

Step 1: Take one pack of 16 fabrics and trim them to make sure they are all the same size (25cm x 13cm - we cut our fabrics generously).
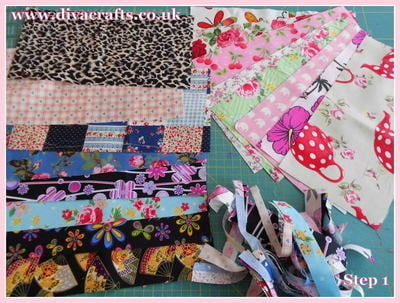
Step 2: Sort them into lights and darks, and sew them into groups of 4 like this...
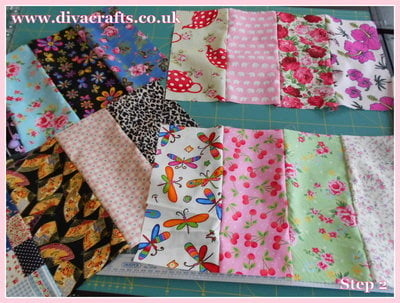
Step 3: On the reverse of the fabric iron on some interfacing.
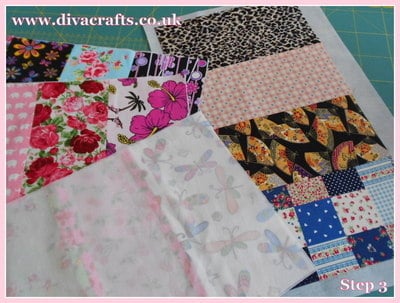
Step 4: Sew one dark and one light piece together.
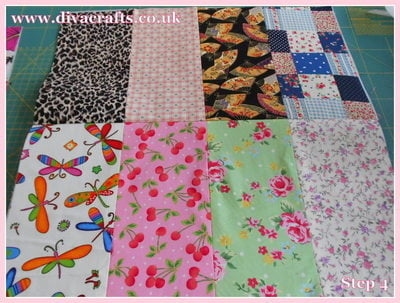
Step 5: Decide which colourway is going to be the inside of your box (we chose LIGHTS) put this piece on the bottom nearest you when you turn the fabric over. With the chosen colour nearest you TACK wadding to bottom half only, repeat to the other piece of fabric.
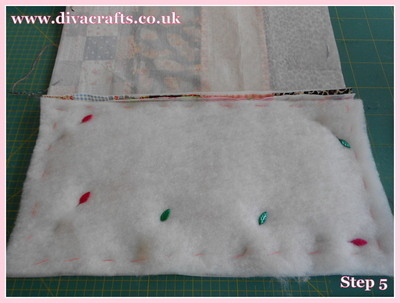
Step 6: Place the right sides together making sure to keep the wadding on the bottom pieces.
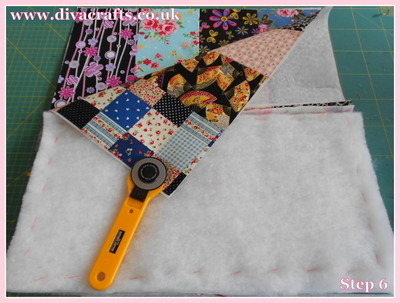
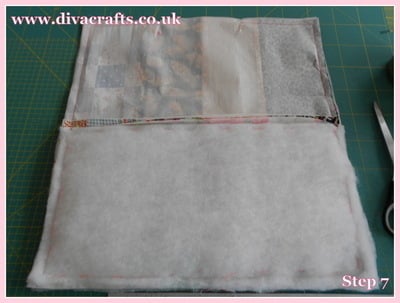
Step 7: Pin all around, but leave a 16cm gap in the middle (this will be used for turning). Machine around the edge.
Step 8: Take one corner and match up the side seam so you have a point, measure down to 10cm, mark and machine across.
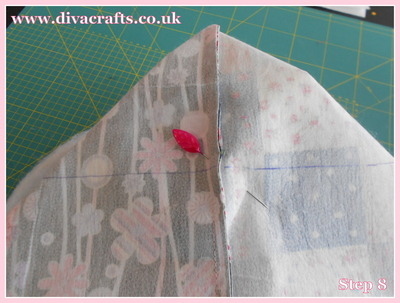
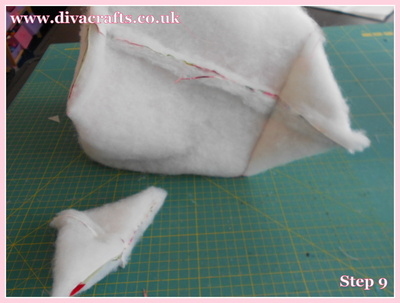
Step 9: Repeat for the other corners, and then trim off the excess.
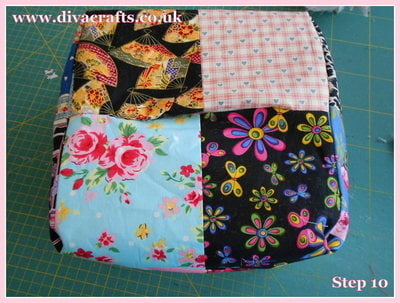
Step 10: Turn the box the right way out, and you should have your open seem on the bottom of the box. You should now slip stitch this seam closed.
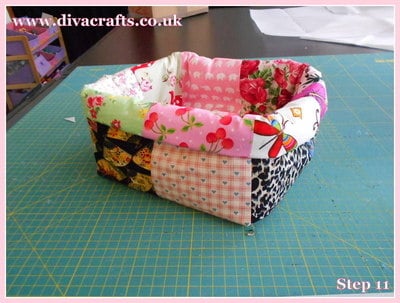
Step 11: Turn the box the correct way up and turn down the top to form a cuff.
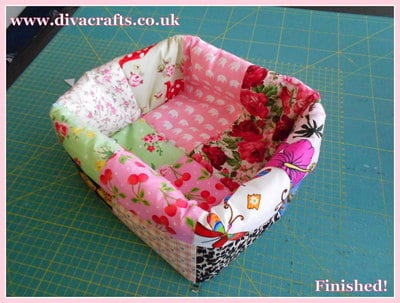
That's it! Your box is finished
Add a comment: