Fabric Wreath Tutorial Free project
Posted on
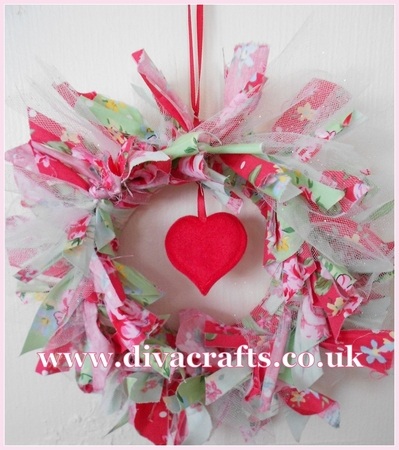
Hi everyone, fabric wreaths have been around for a long time, they are a simple and easy way to create a pretty decoration. The wreaths are so versatile, just by changing the colours of the fabric you can change the theme of your wreath, oranges & black for halloween, pretty pinks & reds for valentines, and so on. I decided to make a wreath using the red and green vintage rose fabric which can be found here.
You will need: a wreath, approximately 1/2 metre of fabric (I used 2 fat quarters as I chose 2 different fabrics), some glitter netting, narrow ribbon & 2 felt hearts.
Step 1: Fold the fat quarter in half, and then in half again (so you have 4 layers). I cut the fabric into 1 inch wide strips, and then I cut them in half. (So each piece is now 1 inch wide by 25cm long).
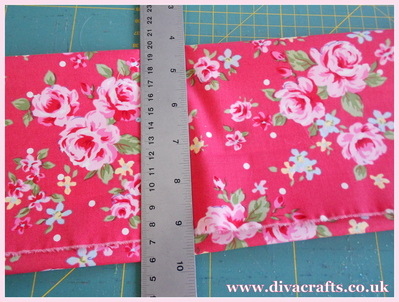
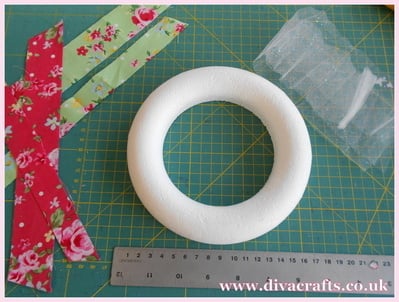
Step 2: Tie each strip of fabric around the wreath, I did 2 red, 1 green, 1 red, 2 green and repeated it. I also tied the odd glitter netting strip in. Carry on until the wreath is full.
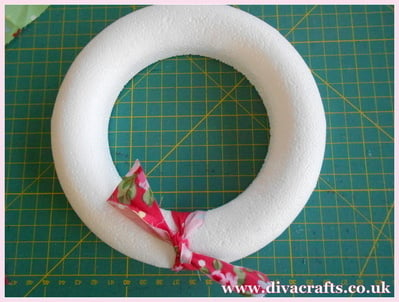
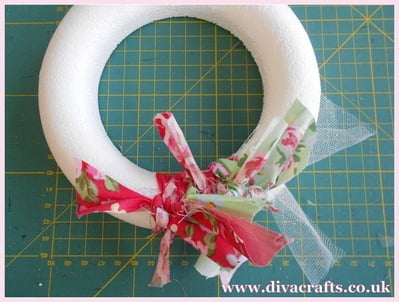
Step 3: Cut out 2 felt hearts (or use pre-cut ones). Place a ribbon between them, then sew or glue the hearts together.
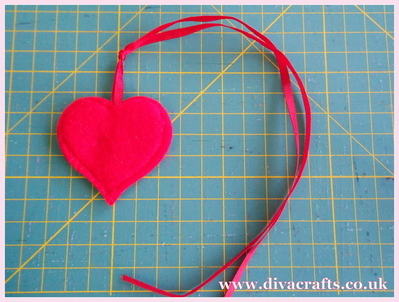
Step 4: Tie a knot in the ribbon about 2cm away from the hearts, and then tie this to the wreath, use the left over ribbon above the wreath as a loop to hang your finished wreath.
Carole
Add a comment: