Easter Bunny Bag - Free Project
Posted on
Hi everyone, here is another cute Easter project for you: How to make an Easter Bunny bag!
You will need: 3 different fabrics, light weight interfacing, sewing machine, scissors, ribbon, pins.
Step 1: cut 6 x 5inch squares, 2 of each colour.
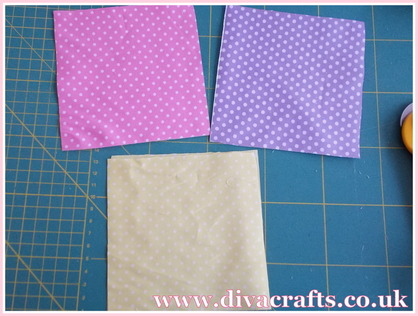
Step 2: Take 2 pink squares, (I used some iron on light interfacing to make the ears stand up), place the fabric right sides together, make a pattern for ears, sew, cut out and turn the right sides out. Then take 2 purple squares, right sides together, sew around the 3 sides (this is the outside of my bag). And then take 2 yellow squares, right sides together but this time sew the 2 long sides and part of the bottom, leave an opening so the bag can be turned the right way.
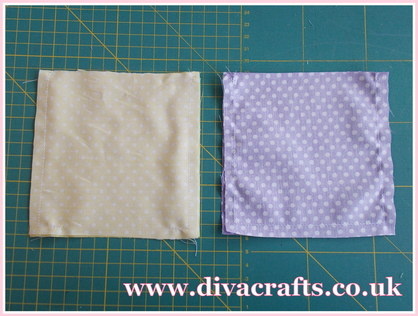
Step 3: Now place the ears the to outside of the bag, place the purple bag and ears, inside the yellow bag, and sew around the top, careful removing the pins, when turning the bag.
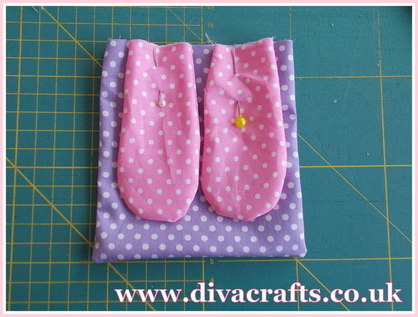
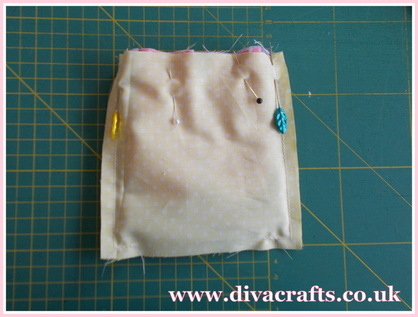
Step 4: Sew along the bottom of the yellow bag to close the opening. Push the yellow bag inside the purple bag and machine the top, this is where you will thread the ribbon, so leave it big enough for the ribbon to go through.
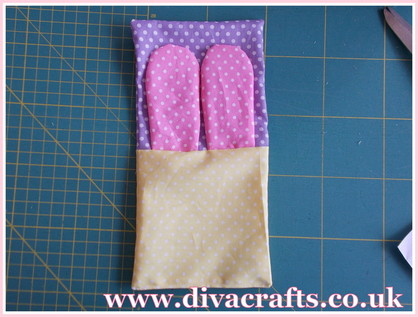

Step 5: I made a small hole in either side of the bag at the top to thread my ribbon through.

All done!
Add a comment: