RSS Feed

» Listings for 2014

  1. Hi everyone, here is another free super quick and easy mini project. This time we show you how to make a Christmas t-shirt using scraps of ribbon!

    You will need: scraps of ribbon, pins, needle & thread or glue a bow or button to finish!

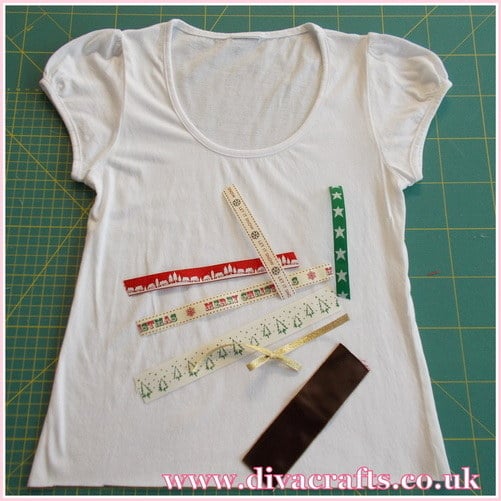
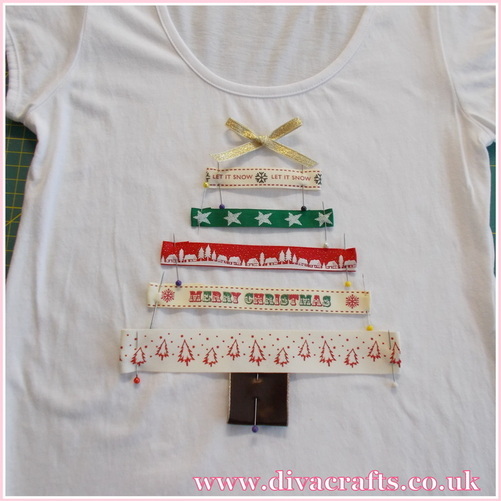
    Step 1: Place your t-shirt down on a flat surface, arrange your scraps of ribbon to form a tree shape (see picture) I turned the ends under before I pinned them. Becareful if you are using ribbon with words on that you're not cutting a word in half. I used a wide brown ribbon for the tree base.

    christmas tshirt free mini project diva crafts (1)

    christmas tshirt free mini project diva crafts (2)


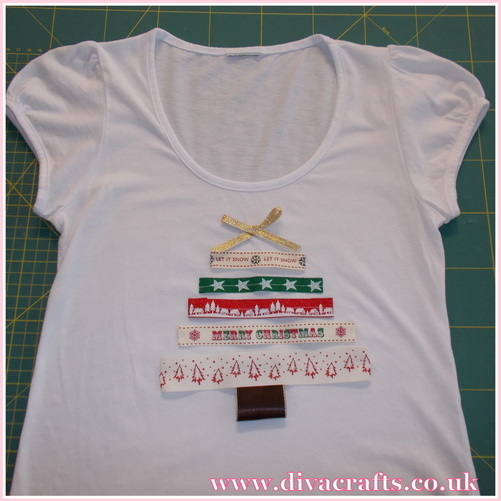
    Step 2: Hand sew or glue the ribbons in place, taking care with the large ribbon at the bottom, tuck the tree base under it. Add a bow to the top or a fancy button and you're done! Pleaes note if you are using glue and want to wash your item please check the glue's instructions as to if it is washable!

    christmas tshirt free mini project diva crafts (3)

  2. Hi everyone, we have another free mini project for you to try! This week it's how to make these adorable mini snowmen!

    You will need: white felt, scissors, paper, sewing machine, needle & thread, marker pen & beads, items to decorate: ribbon & buttons.

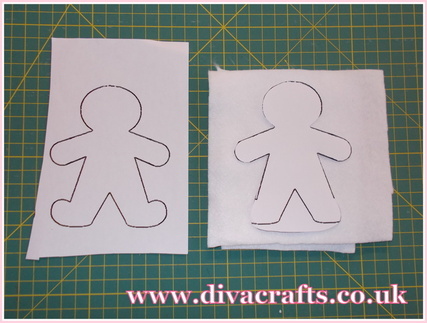
    Step 1: make a template for your snowman, I drew around a gingerbread man  cutter but 'rounded' the bottom, (see pic)

    felt snowman mini project diva crafts (1)

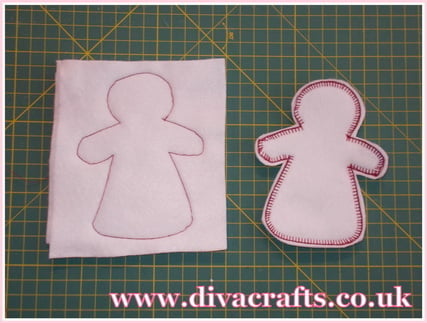
    Step 2: I sewed around the outline, if you catch the paper it will easily tear away from the stitching. Do not cut the snowman out just yet, then I used a blanket stitch ( on my machine) to sew around the edge. Now cut the snowman out.

    felt snowman mini project diva crafts (2)

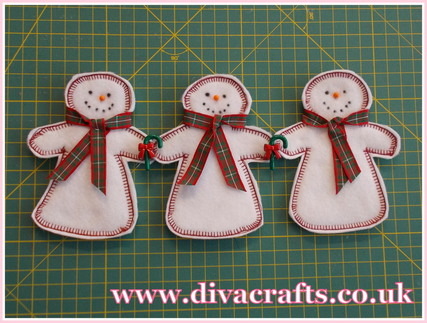
    Step 3: I used a black marker pen for it's eyes and mouth, an orange bead for its nose, tartan ribbon for its scarf, I joined the hands together (I'm making bunting) and then sewed a plastic 'candy cane' button over the hands. This would make a great hanging decoration on the tree or put multiple togetehr for bunting like I have, or even on the front of a greetings card!

    felt snowman mini project diva crafts (3)

  3. Hi everyone, we have a super quick free mini project to share with you, it's how to make these adorable hanging mice! This is a super quick 5 minute task and great for children.


    You will need: scraps of felt, a pen, candy canes, glue and paper & scissors.

    mouse christmas tree decorations free project diva crafts (2)

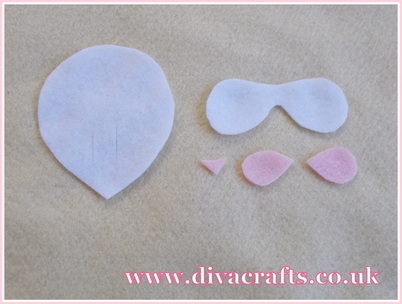
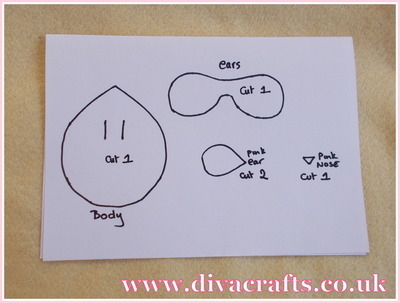
    Step 1: Make your template, we free hand drew out template out then cut 1 body, 1 ear piece, 1 nose & 2 inner ear pieces.

    mouse christmas tree decorations free project diva crafts (1)

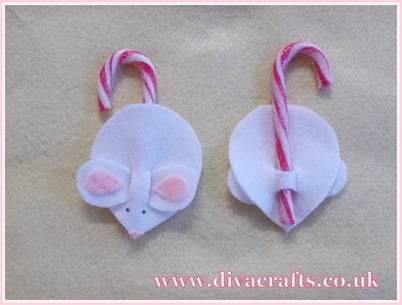
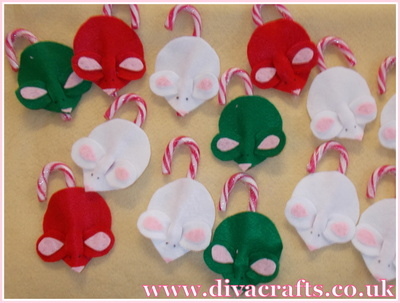
    Step 2: Cut 2 small slits in the large body piece, glue the inner ear pieces to the large ear piece and thread them through the slit, glue on the nose and draw on eyes. Carefully tuck the candy can in the back of the ear piece and you're done! We made lots of mice for our local Cats Protection charity! Happy Crafting!

    mouse christmas tree decorations free project diva crafts (3)

    mouse christmas tree decorations free project diva crafts (4)

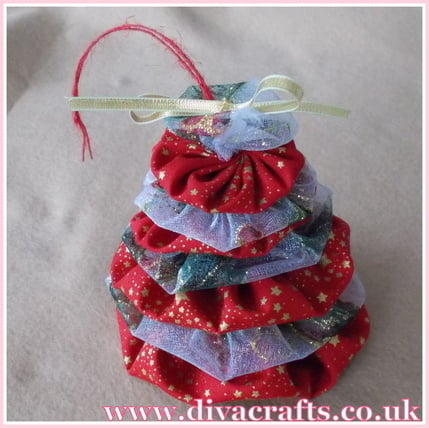
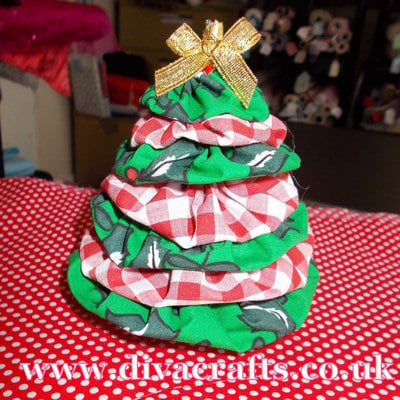
  4. Hi everyone, here is a quick mini project for you, this is a great one for children too, let's see how to make a puff Christmas tree! There are 2 different types, one is threaded onto some dowling and stuck into a cotton reel(pictures at the bottom) and one is a hanging decoration.

    You will need: 2 different fabrics, needle and thread, scissors, a small bell or gold button, and a cotton reel & dowling for the standing tree.

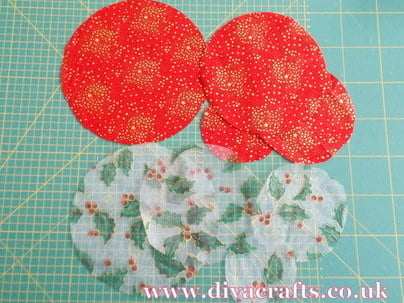
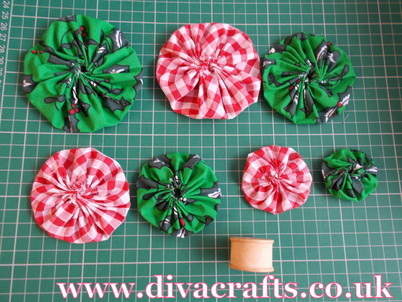
    Step 1: Cut out 7 or 8 circles in descending sizes of each fabric.

    puff christmas tree free project diva crafts (1)

    Step 2: If you are making the tree on a cotton reel, cut a small hole in the middle of each circle for threading onto the dowling later. You do not need to do this for the hanging tree.

    puff christmas tree free project diva crafts (2)

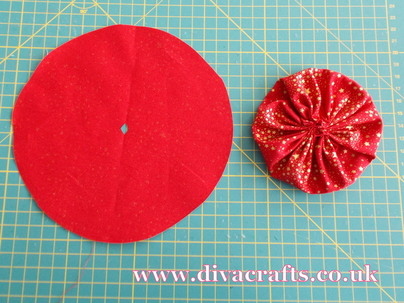
    Step 3: Hand sew a running stitch around the edge of a circle, and pull tight to gather it together (see picture), fasten off securely. Repeat for each circle.

    puff christmas tree free project diva crafts (3)

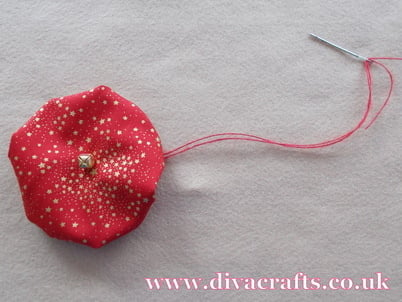
    Step 4: Either thread the circles onto the dowling (at the base add the cotton reel) in size order or thread the circles together with string if making the hanging decoration. Add a bell or button/bow up the top to finish!

    puff christmas tree free project diva crafts (4)

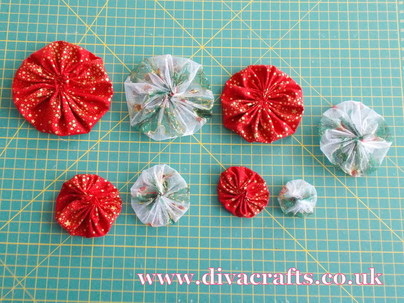
    christmas tree suffolk puff diva crafts

    mini christmas tree free project diva crafts (1)

    mini christmas tree free project diva crafts (2)

  5. Christmas Placemat Free Project of the Month

    Hi everyone, we have a fab project for you this month, how to make a placemat, now if you have been in the shop just recently you may well have seen this on our ideas board. This particular placemat is Christmas themed, but you could use any fabric, we have made another placemat here using pretty butterfly fabric.

    You will need: 35 scraps of fabric 10cm x 7cm, wadding, backing fabric, scissors, sewing machine, thread, bias binding.
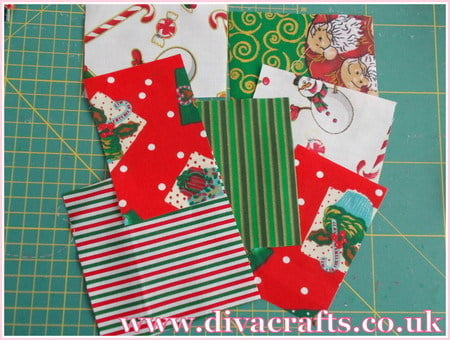
    christmas placemat free project diva crafts (1)

    Step 1: sew 5 pieces of scraps together to make a strip, repeat 7 times.
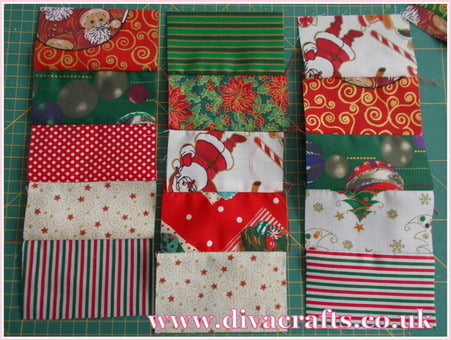
    christmas placemat free project diva crafts (3)

    Step 2: draw a long tall triangle shape on paper (see picture) and place over each strip and cut them out.
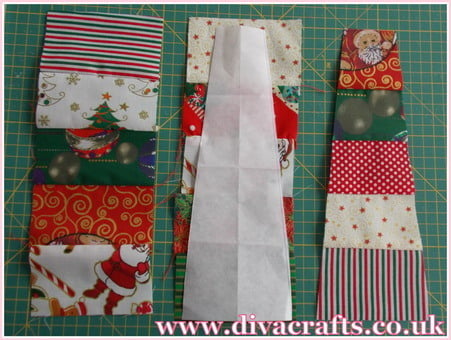
    christmas placemat free project diva crafts (2)

    Step 3: sew the triangular strips together alternating which way up they go.
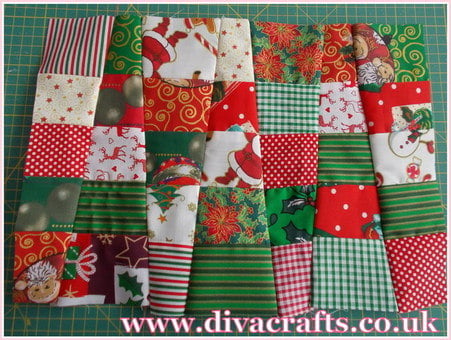
    christmas placemat free project diva crafts (4)

    Step 4: I took a thin layer of wadding, and some backing fabric pinned them together and used a 'fancy' stitch on the machine to give a quilted look to the mat.
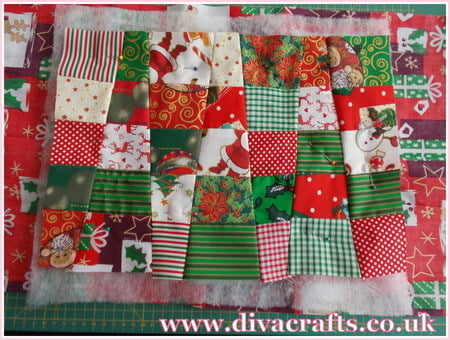
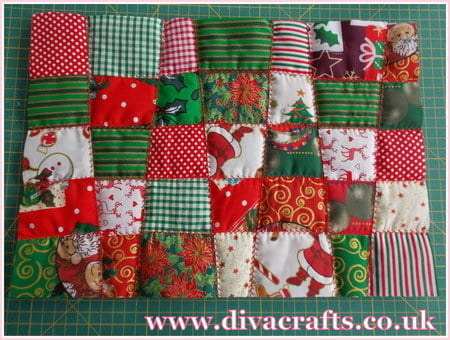
    christmas placemat free project diva crafts (5)

    christmas placemat free project diva crafts (6)

    Step 5: I trimmed the edges and then added bias binding! All done!
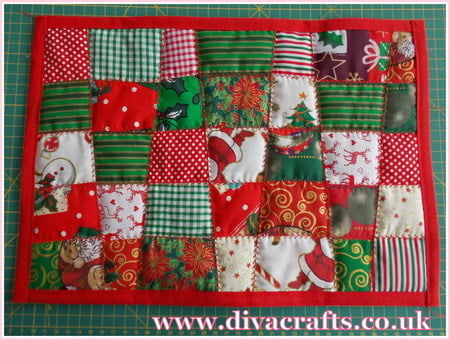
    christmas placemat free project diva crafts (7)