RSS Feed

» Listings for March 2015

  1. Hi everyone, as I'm sure alot of you are aware Royal Mail postal service will be increasing their prices from the 1st April 2015 and unfortunately we will have to do the same. The increase will affect our international postage charge for the JEM fans, craft orders are now £1.50 for orders up to £10, £2.75 for orders up to £19.99, £3.50 for orders up to £39.99 and we will still offer free postage for orders over £40.

    Happy Crafting Gina

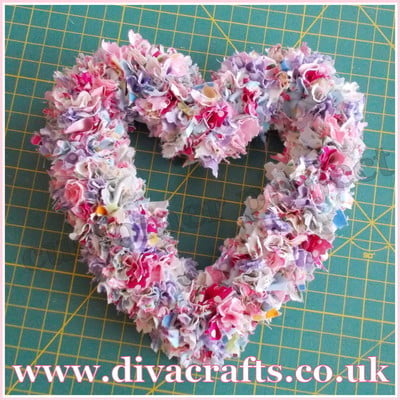
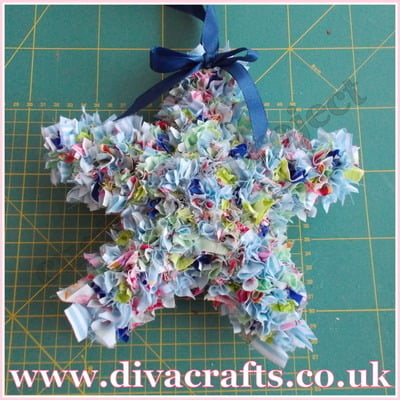
  2. Hi everyone, it's time for another customer project! This week we are sharin Julie's beautiful creations. She has made a heart wreath and a hanging star using polystyrene shapes and scraps of fabric. Thanks for sharing Julie! If you would like your items featured on our website all you have to do is either email us a photo or pop into the shop and we can take a picture for you.

    Happy Crafting Carole & Gina

    diva crafts customer project heart wreath by julie

    diva crafts customer project hanging star by julie


  3. Hi everyone, just to let you know that in April we will be celebrating the shop's 5th birthday! How exciting! We will be having a 'one-day-special' on the 23rd April 2015 from 10am - 3pm, it includes 20% off all fabric cut from the roll only (precut fabrics, fq's, bundles etc are not included). You must show the flyer to obtain your discount, and here's how: you can 'right click' and 'save image as', save it in your normal place (we love using the desktop) print it out and bring it with you OR you can take a screenshot on your phone/tab and show that to us when you come OR if you are not able to do either of those please pop into the shop before the 23rd April and we can give you a printed out copy. We are sorry but the discount is not valid without the flyer. Let us know if you have any problems! We look forward to celebrating our birthday with you.

    Carole & Gina

    PS: there will be lots of one-of-a-kind birthday specials available too!

    diva crafts birthday flyer

  4. Hi everyone, here is another cute Easter project for you: How to make an Easter Bunny bag!

    You will need: 3 different fabrics, light weight interfacing, sewing machine, scissors, ribbon, pins.

    Step 1: cut 6 x 5inch squares, 2 of each colour.
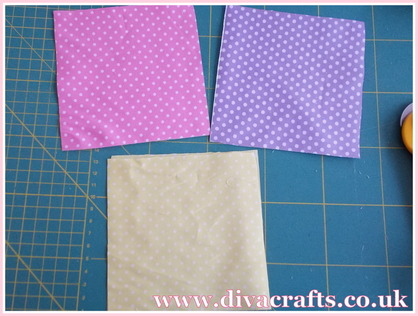
    easter bunny bag free project diva crafts (1)

    Step 2: Take 2 pink squares, (I used some iron on light interfacing to make the ears stand up), place the fabric right sides together, make a pattern for ears, sew, cut out and turn the right sides out. Then take 2 purple squares, right sides together, sew around the 3 sides (this is the outside of my bag). And then take 2 yellow squares, right sides together but this time sew the 2 long sides and part of the bottom, leave an opening so the bag can be turned the right way.
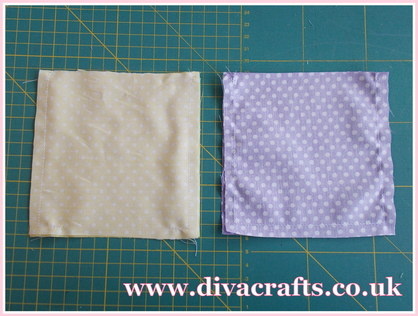
    easter bunny bag free project diva crafts (2)

    Step 3: Now place the ears the to outside of the bag, place the purple bag and ears, inside the yellow bag, and sew around the top, careful removing the pins, when turning the bag.
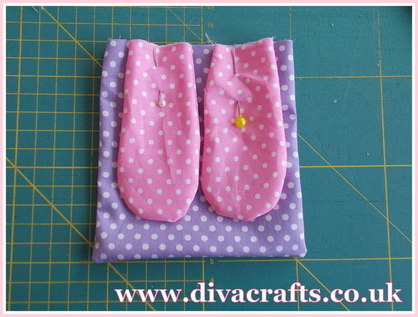
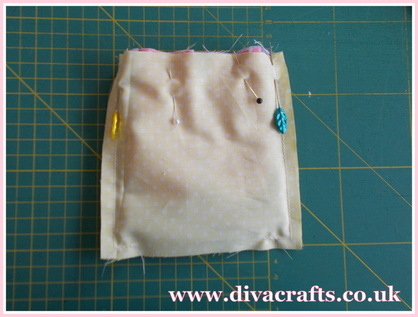
    easter bunny bag free project diva crafts (3)

    easter bunny bag free project diva crafts (4)

    Step 4: Sew along the bottom of the yellow bag to close the opening. Push the yellow bag inside the purple bag and machine the top, this is where you will thread the ribbon, so leave it big enough for the ribbon to go through.
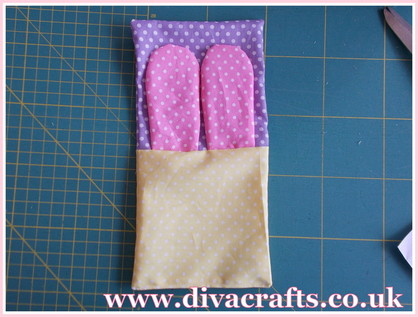
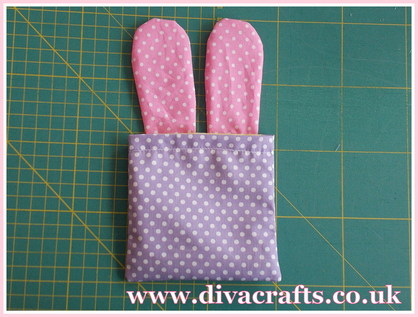
    easter bunny bag free project diva crafts (5)

    easter bunny bag free project diva crafts (6)

    Step 5: I made a small hole in either side of the bag at the top to thread my ribbon through.
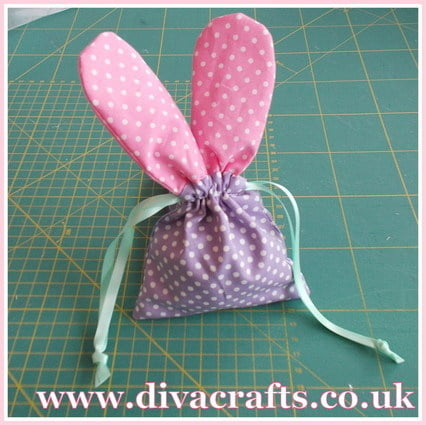
    easter bunny bag free project diva crafts (7)

    All done!

  5. Hi everyone, for this month's project of the month we will show you how to (quickly) make some adorable Easter bunnies!

    You will need: fabric, sewing machine or needle & thread, stuffing, pinking shears and a bunny template.

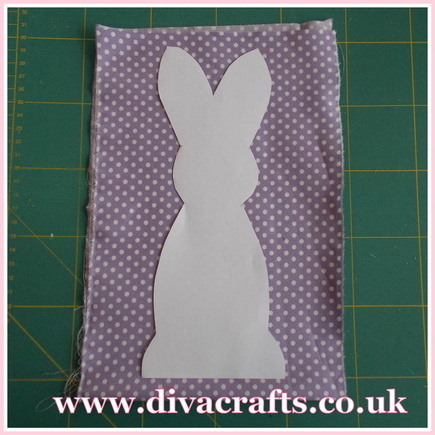
    Step 1: Pin 2 pieces of fabric wrong sides together. Using your bunny template (or free hand) draw the bunny onto the reverse of your fabric. Machine or hand stitch around the bunny leaving the bottom open.

    easter bunny free tutorial sewing project diva crafts (1)

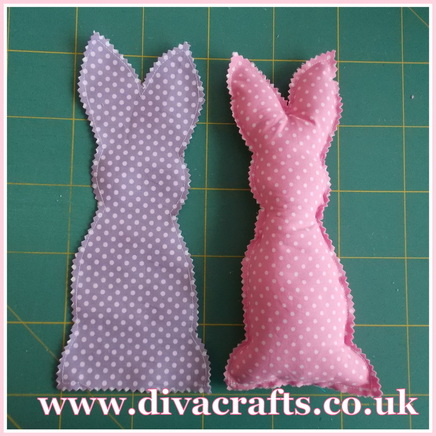
    Step 2: Cut out your bunny using pinking shears being careful as to not cut the stitching, lighly stuff the bunny and close the seam! All done how super quick was that?!

    easter bunny free tutorial sewing project diva crafts (2)

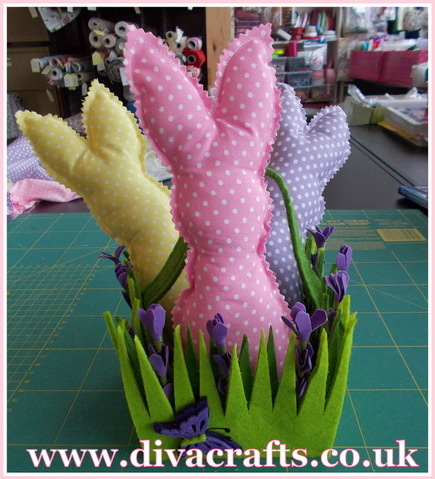
    A great project to do with children. Why not make bunnies in different sizes? You could easily add eyes and noses for extra details, or how about a pompom tail?

    easter bunny free tutorial sewing project diva crafts (3)

    Happy Crafting!

    Carole & Gina