RSS Feed

» Listings for September 2012

  1. Hi everyone, yes we know it's a little early, but we are super excited about this cute halloween bag we have decided to share it with you early! This is a really quick project to do, so simple and versatile. We used the A4 Dovecraft felt for this project. You can find all of our felt products here. For this project you will need, some orange & black felt, scissors, 50cm of ribbon, and you can either machine sew or hand sew this!

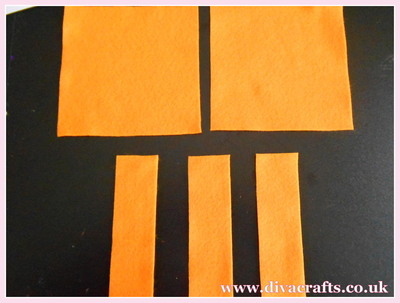
    Step 1: Cut 2 pieces of orange felt 13.5cm x 13.5cm. And cut 3 pieces into 13.5cm x 4cm wide.

    halloween bag part 1 diva crafts

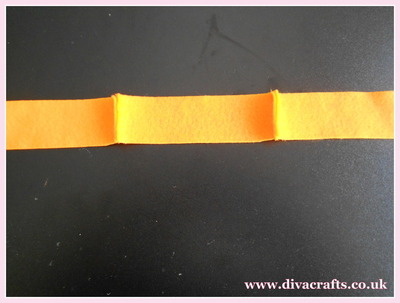
    Step 2: Sew the 3 small pieces of felt together, this will form the base and sides of the bag.

    halloween bag part 2 diva crafts

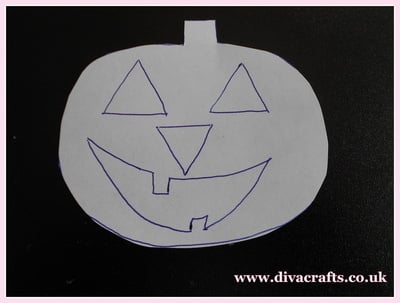
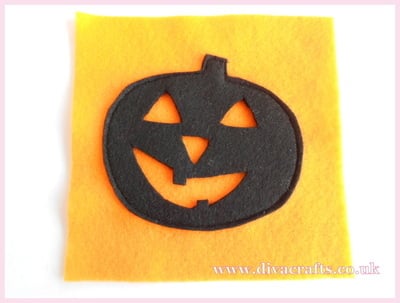
    Step 3: Draw your favourite halloween shape (we chose a pumpkin) cut 1 from black felt. Then either sew or glue this onto one of the large orange panels.

    halloween bag part 3 diva crafts

    halloween bag part 4 diva crafts

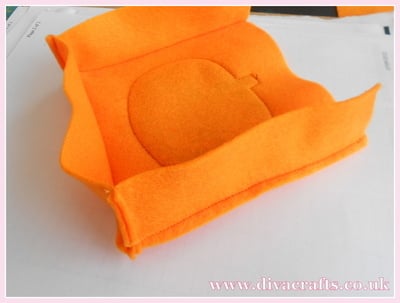
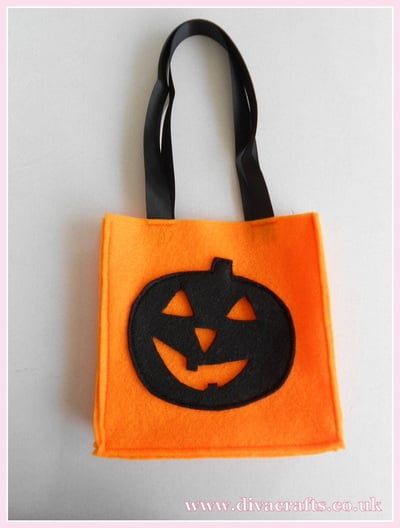
    Step 4: Matching the narrow strip to the front panel, line up the corners and pin. Then machine or hand sew over the edge, then cut the 50cm piece of ribbon in half, and sew on two handles to the bag.

    halloween bag part 5 diva crafts

    halloween bag part 7 diva crafts

    Carole x

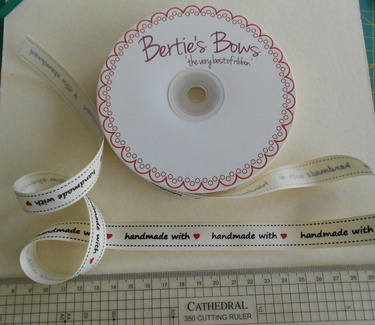
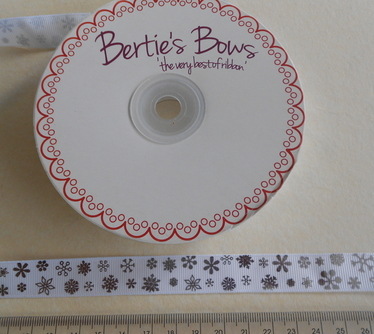
  2. Hi everyone, just to let you know about some new products that have arrived, and some that are coming soon to Diva. We will soon be stocking a range of the beautiful Bertie's Bows ribbons. These great ribbon are perfect for sewing, card making and scrapbooking! See a preview below, and also below you can see the fantastic range of craft buttons. These buttons come in various colour ranges and are sold in 75gram bags!

    Carole & Gina x

    handmade with love ribbon berties bows diva crafts

    snowflake ribbon berties bows diva crafts

    75g pastel button mix diva crafts75g blue button mix diva crafts

    75g autumn button mix diva crafts75g pinks button mix diva crafts

  3. Hi everyone, fabric wreaths have been around for a long time, they are a simple and easy way to create a pretty decoration. The wreaths are so versatile, just by changing the colours of the fabric you can change the theme of your wreath, oranges & black for halloween, pretty pinks & reds for valentines, and so on. I decided to make a wreath using the red and green vintage rose fabric which can be found here.

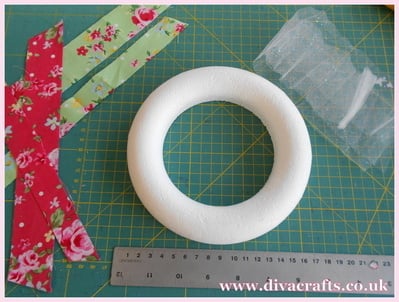
    You will need: a wreath, approximately 1/2 metre of fabric (I used 2 fat quarters as I chose 2 different fabrics), some glitter netting, narrow ribbon & 2 felt hearts.

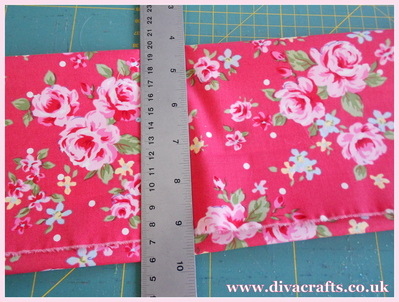
    Step 1: Fold the fat quarter in half, and then in half again (so you have 4 layers). I cut the fabric into 1 inch wide strips, and then I cut them in half. (So each piece is now 1 inch wide by 25cm long).

    fabric wreath part 2 diva crafts

    fabric wreath part 1 diva crafts

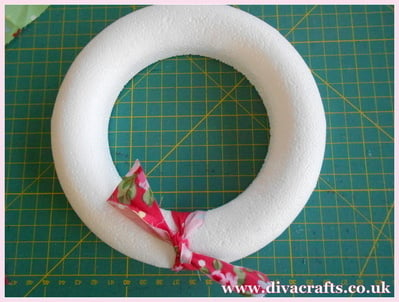
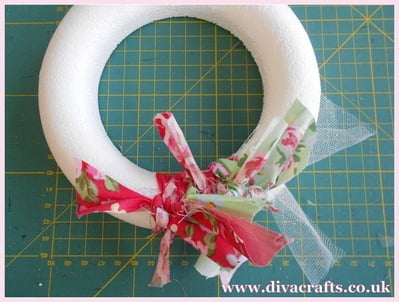
    Step 2: Tie each strip of fabric around the wreath, I did 2 red, 1 green, 1 red, 2 green and repeated it. I also tied the odd glitter netting strip in. Carry on until the wreath is full.

    fabric wreath part 3 diva crafts

    fabric wreath part 4 diva crafts

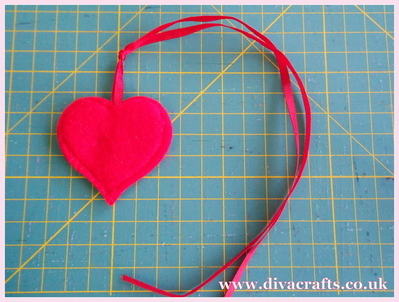
    Step 3: Cut out 2 felt hearts (or use pre-cut ones). Place a ribbon between them, then sew or glue the hearts together.

    fabric wreath part 5 diva crafts

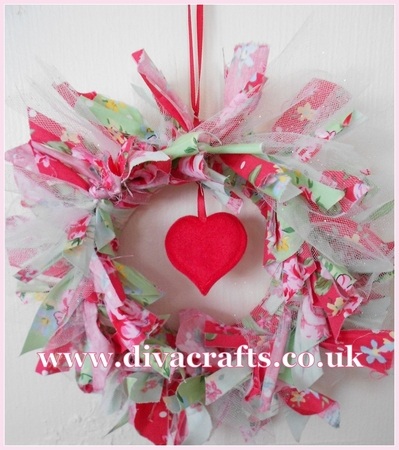
    Step 4: Tie a knot in the ribbon about 2cm away from the hearts, and then tie this to the wreath, use the left over ribbon above the wreath as a loop to hang your finished wreath.

    Copy of fabric wreath part 6 diva crafts

    Carole

  4. Hi everyone, today I am sharing a free project on things you can do with the Little Venice Cake Company's icing nozzle #233 grass. You can find this product here. I wanted to make some cupcakes for my daughter's kindergarten class, and I thought that monsters would be pretty cute, so I had a look around this internet and saw some pictures of "hairy monsters" made with buttercream, so here is my attempt.

    Step 1: You will need, cupcakes, icing bag & #233 nozzle, I used blue buttercream because I wanted to make cookie monster from Sesame Street, you will also need white chocolate buttons for the eyes, and mini cookies. For the hairy monster I used Smarties for the eyes and nose and a black food pen.
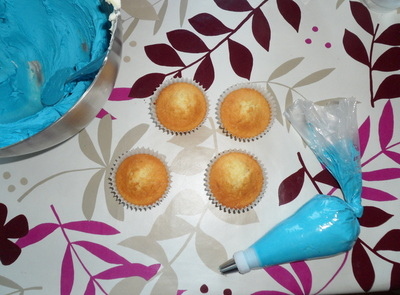
    cookie monster cupcake tutorial diva crafts

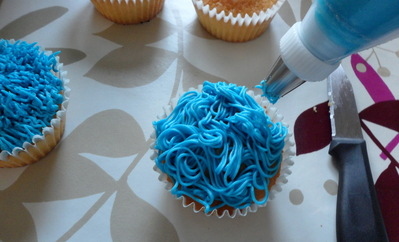
    Step 2: Making the hair on the hairy monster, this is the same technique as making grass. Hold the piping bag vertically above the cupcake and squeeze down hard and pull up and release the pressure. I practiced this a few times to get it right, it is definately very forgiving, if you made a mistake, you probably wouldn't notice. Pipe the hair all over the cupcake - it was very quick to do!
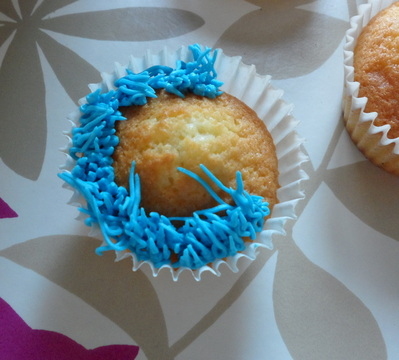
    cookie monster cupcake tutorial diva crafts (2)

    Step 3: For Cookie Monster: To make sure it looked even, I cut off the little dome of cupcake that was just sticking up (see picture) and then for Cookie Monster's fur, hold the icing bag vertically above the cupcake and squeeze the bag, but this time hold the pressure and move around the cupcake so you have a continuous stream of icing coming out, again cover the top of the cupcake.
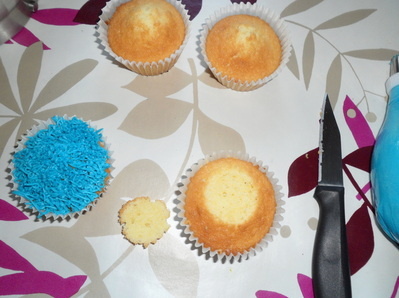
    cookie monster cupcake tutorial diva crafts (3)

    cookie monster cupcake tutorial diva crafts (5)

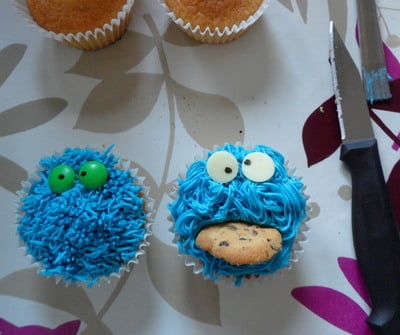
    Step 4: The eyes: take 2 white chocolate buttons for cookie monster and 2 smarties for the hairy monster, stick them on the cupcake. Then make black circles for the pupils. I used an edible pen and drew them on, but you could use chocolate or royal icing.
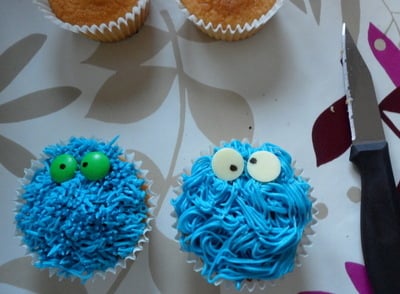
    cookie monster cupcake tutorial diva crafts (6)

    Step 5: Cookie Monster's cookie. Take a spoon and using the end of the handle, push it onto the cupcake to create a gap to push the cookie into. Then pop the mini cookie into the gap. You can always add abit more icing around the cookie to hide the gap if any is showing.
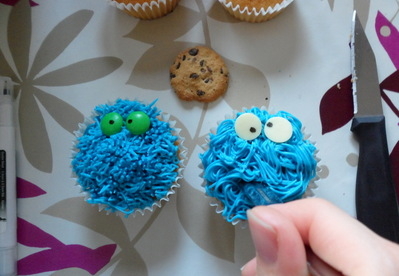
    cookie monster cupcake tutorial diva crafts (7)

    cookie monster cupcake tutorial diva crafts (8)

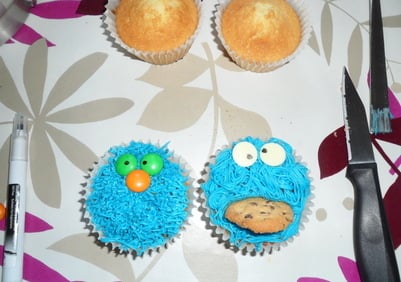
    Cookie monster is now finished! You could leave the hairy monster like this or add another smartie for a nose like this:
    cookie monster cupcake tutorial diva crafts (9)

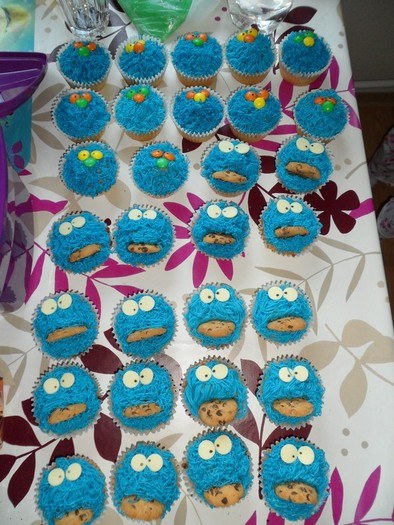
    And this is the collection of monsters I ended up with (a couple of hours later...)
    cookie monster cupcake tutorial diva crafts (10)

    Gina x
     

  5. Hi everyone, for this month we are focusing on the 16 piece fabric pack. Our free project this month is how to make a fabric box! Below you will find easy to follow instructions. Carole & Gina

    Pink Thread

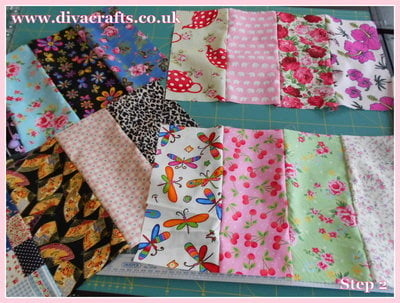
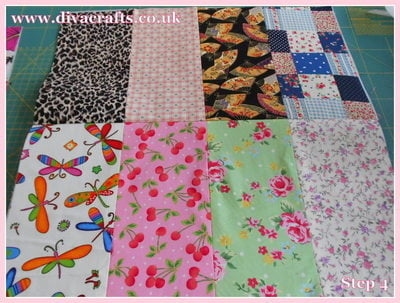
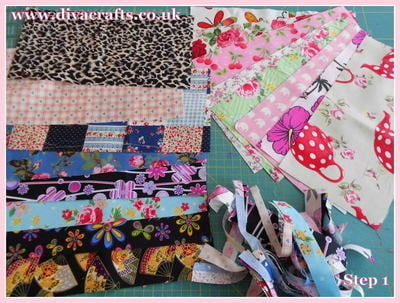
    Step 1: Take one pack of 16 fabrics and trim them to make sure they are all the same size (25cm x 13cm - we cut our fabrics generously).
    diva crafts free project fabric box
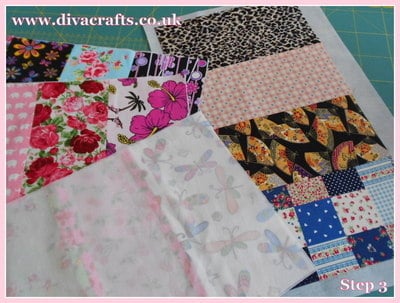
    Step 2: Sort them into lights and darks, and sew them into groups of 4 like this...

    diva crafts free project fabric box (1)

    Step 3: On the reverse of the fabric iron on some interfacing.

    diva crafts free project fabric box (2)

    Step 4: Sew one dark and one light piece together.

    diva crafts free project fabric box (3)

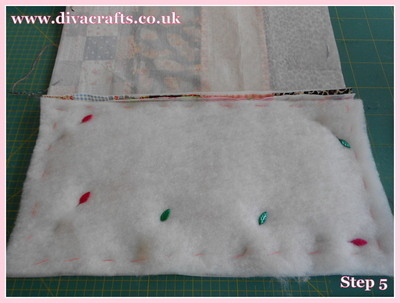
    Step 5: Decide which colourway is going to be the inside of your box (we chose LIGHTS) put this piece on the bottom nearest you when you turn the fabric over. With the chosen colour nearest you TACK wadding to bottom half only, repeat to the other piece of fabric.

    diva crafts free project fabric box (4)

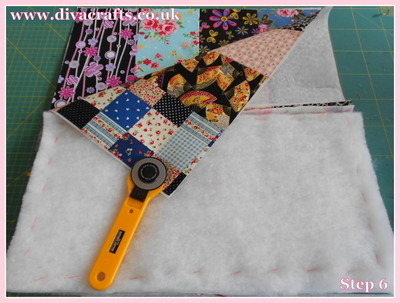
    Step 6: Place the right sides together making sure to keep the wadding on the bottom pieces.

    diva crafts free project fabric box (5)

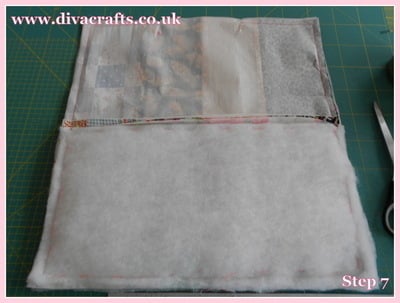
    Step 7: Pin all around, but leave a 16cm gap in the middle (this will be used for turning). Machine around the edge.

    diva crafts free project fabric box (6)

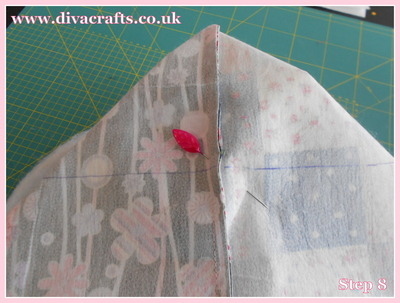
    Step 8: Take one corner and match up the side seam so you have a point, measure down to 10cm, mark and machine across.

    diva crafts free project fabric box (7)

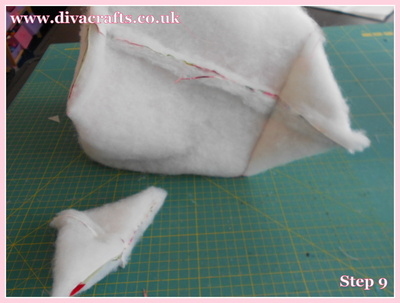
    Step 9: Repeat for the other corners, and then trim off the excess.

    diva crafts free project fabric box (8)

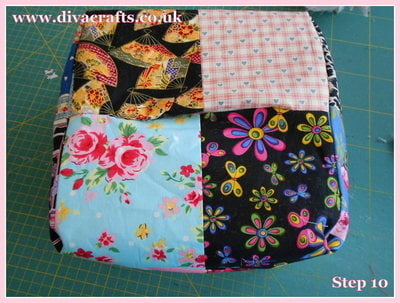
    Step 10: Turn the box the right way out, and you should have your open seem on the bottom of the box. You should now slip stitch this seam closed.

    diva crafts free project fabric box (9)

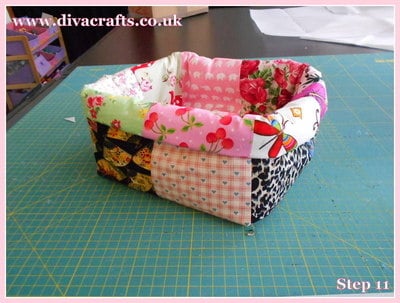
    Step 11: Turn the box the correct way up and turn down the top to form a cuff.

    diva crafts free project fabric box (10)

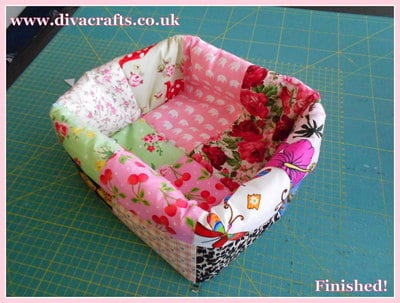
    That's it! Your box is finished

    diva crafts free project fabric box (11)