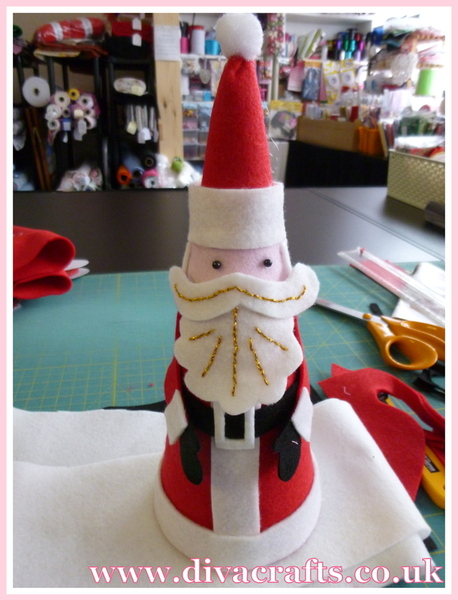
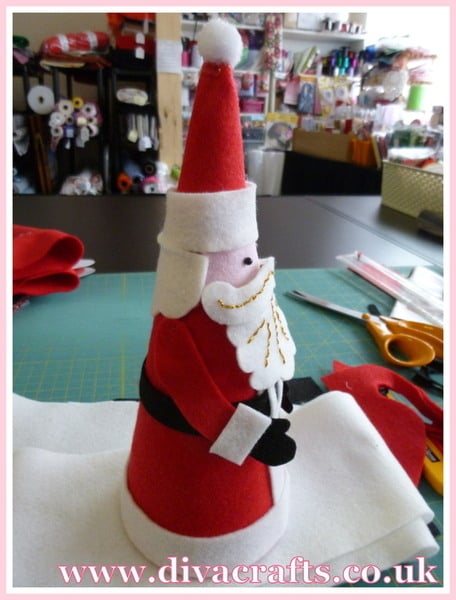
Hi everyone, we have an adorable project to share with you this month, it's a Father Christmas cone decoration!
You will need: 1 cone (mine was 25cm tall) red felt 30cm x 30cm, a small amount of pink felt & black felt, some long white felt, one pom pom, gold thread and a hot glue gun & glue sticks!
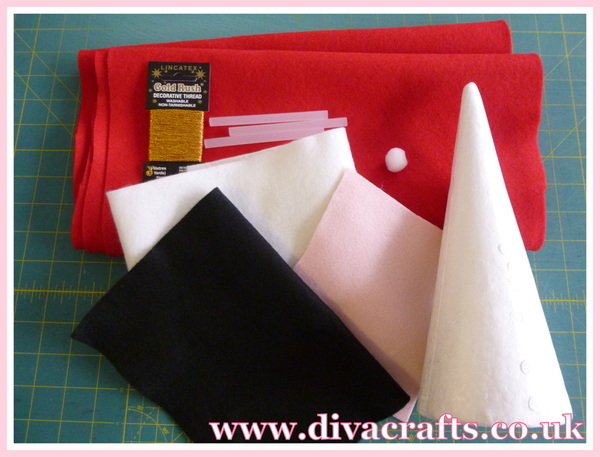
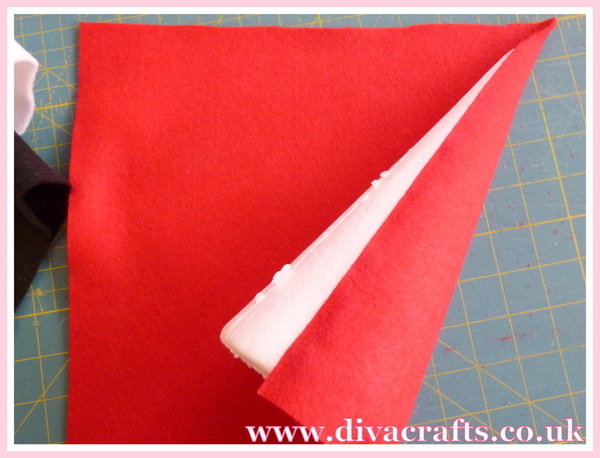
Step 1: Place the cone slightly lower from the top edge of the red felt, glue the edge and roll the felt around the cone, glue again and cut any excess felt away, but leaving a little excess felt at the top of the cone, and then pinch the felt and glue the pom pom on for his hat bobble.
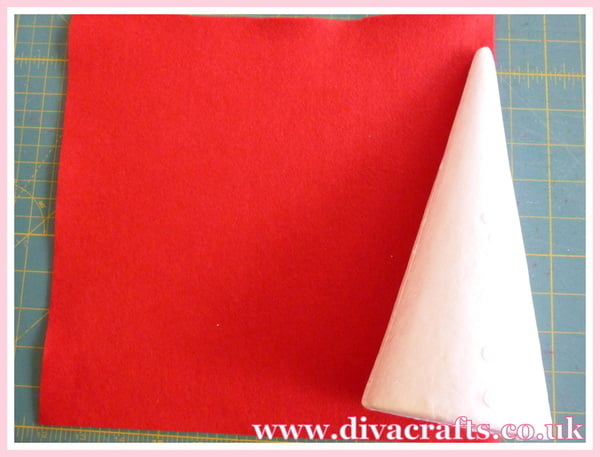
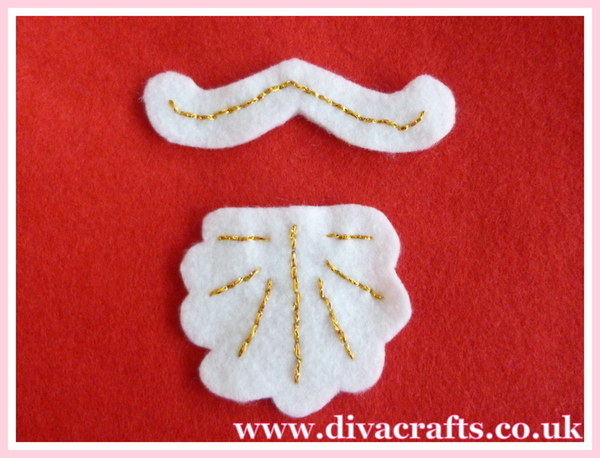
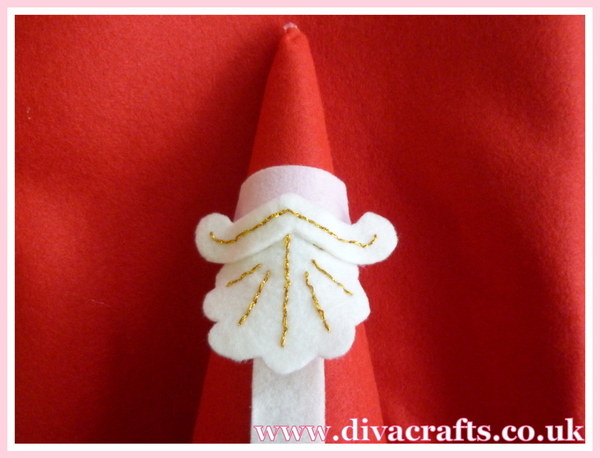
Step 2: Cut a small pink face, a beard and moustach, the size will depend on how big your cone is. I used the gold thread to make some 'backstitch' lines on his beard (see photo).
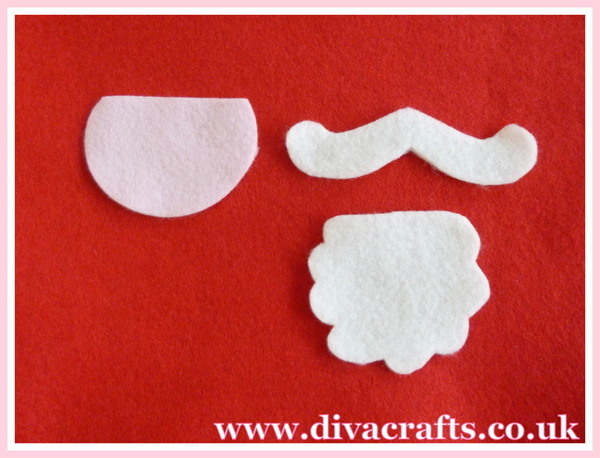
Step 3: Glue the face and beard in place. I then cut a 2cm wide strip of white felt to go down the front of Father Christmas' suit, a 1.5cm strip of white felt to go around the top of his face for the hat brim, and a 2cm wide strip of white felt to go around the bottom of the cone, again glue in place. Once you have glued his hat brim, cut a small amount of white felt for his 'back' hair, making sure the felt is wide enough just to cover the side of his pink face.
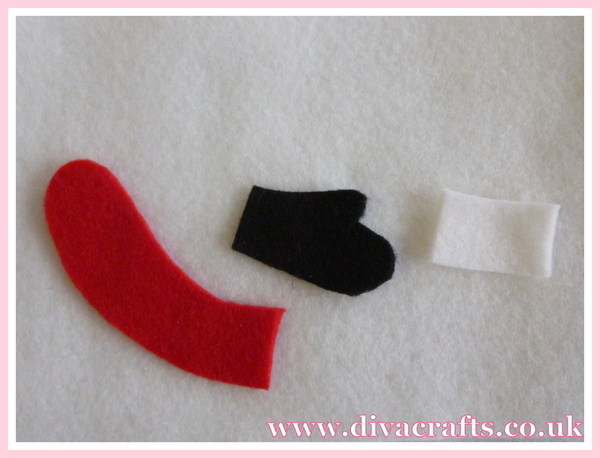
Step 4: Cut a 1cm strip of black felt for his belt and make a small white felt buckle, glue both pieces on. Now cut 2 arms, 2 black gloves and 2 white cuffs, again, depending on the size of your cone, make them slightly bent but not to long. Glue the glove to the bottom of the sleeve and the cuff on the top and attach with some glue to the body at the top of the sleeve and again at the cuff, so the hands are free (see picture).
Step 5: I stuck in 2 black pins for the eyes, or alternatively you could use black beads. Your Father Christmas is finished! How cute is he?!
