RSS Feed

  1. Christmas Placemat Free Project of the Month

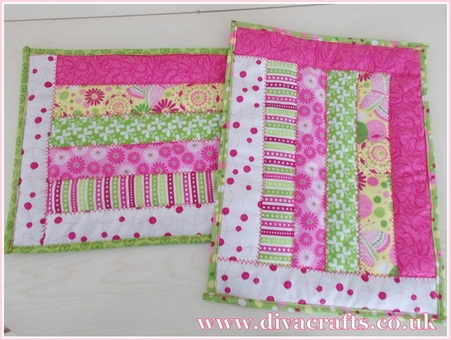
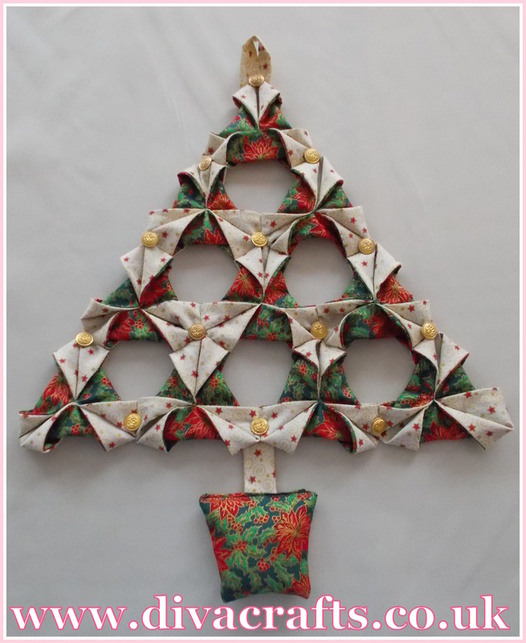
    Hi everyone, we have a fab project for you this month, how to make a placemat, now if you have been in the shop just recently you may well have seen this on our ideas board. This particular placemat is Christmas themed, but you could use any fabric, we have made another placemat here using pretty butterfly fabric.

    You will need: 35 scraps of fabric 10cm x 7cm, wadding, backing fabric, scissors, sewing machine, thread, bias binding.
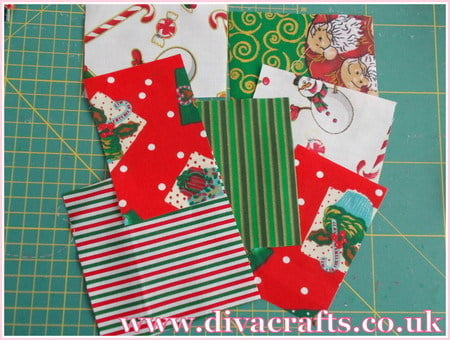
    christmas placemat free project diva crafts (1)

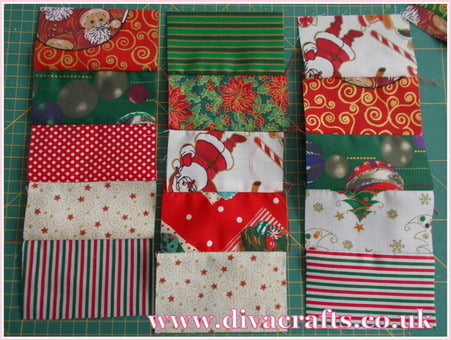
    Step 1: sew 5 pieces of scraps together to make a strip, repeat 7 times.
    christmas placemat free project diva crafts (3)

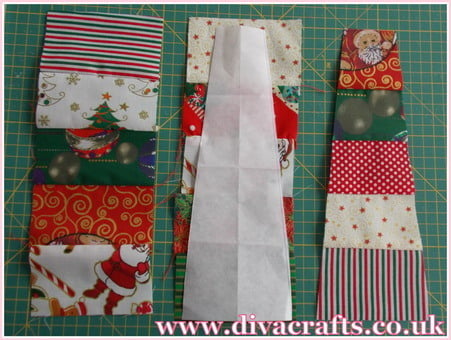
    Step 2: draw a long tall triangle shape on paper (see picture) and place over each strip and cut them out.
    christmas placemat free project diva crafts (2)

    Step 3: sew the triangular strips together alternating which way up they go.
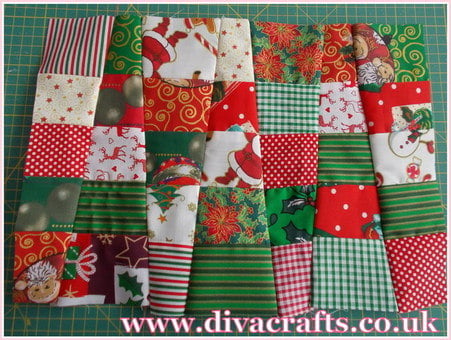
    christmas placemat free project diva crafts (4)

    Step 4: I took a thin layer of wadding, and some backing fabric pinned them together and used a 'fancy' stitch on the machine to give a quilted look to the mat.
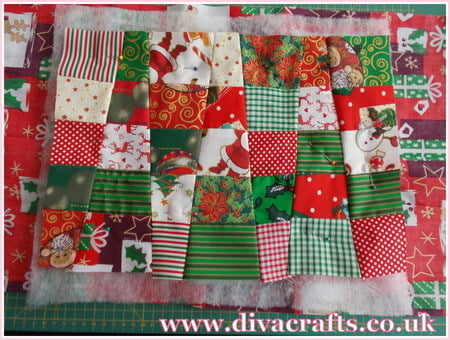
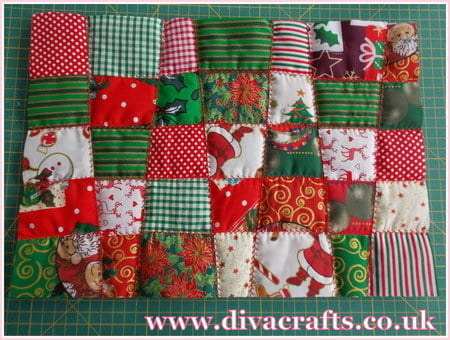
    christmas placemat free project diva crafts (5)

    christmas placemat free project diva crafts (6)

    Step 5: I trimmed the edges and then added bias binding! All done!
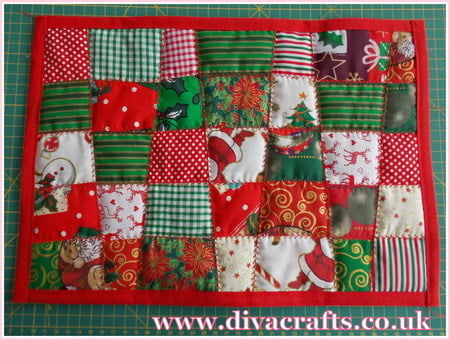
    christmas placemat free project diva crafts (7)


  2. Hi everyone, here is fabulous Hallowe'en and Autumn themed project for you - fabric pumpkins!

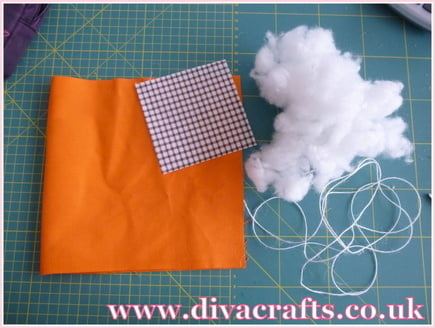
    You will need: orange fabric 8inch x 16 inch, brown for the stork, 3 inch by 4 inch, stuffing, cord or jute string, hot glue gun & a needle with a big eye.

    fabric pumpkin free project diva crafts (1)

     
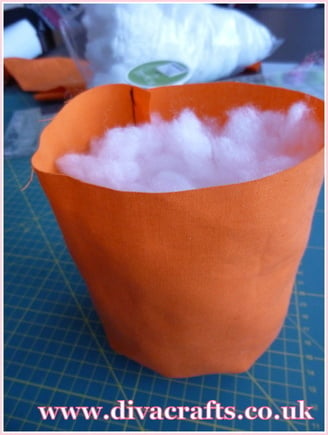
    Step 1: fold the fabric in half and sew the short edge. With a running stitch gather the bottom edge, pull up tight and fasten off, do the same with the top, fill with stuffing.
     
    fabric pumpkin free project diva crafts (2)
     
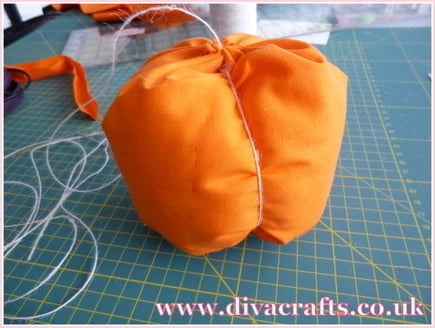
    Step 2: take the string ( use it double if you want to), start at the top and go through the middle, out at the bottom and then back in at the top ( so the string shows on the outside of the pumpkin, repeat this 6 times, making sure the 'segments' are equally spaced.
     
    fabric pumpkin free project diva crafts (3)
     
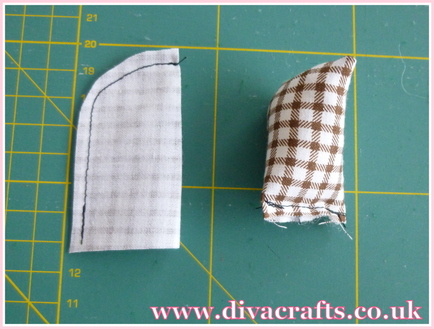
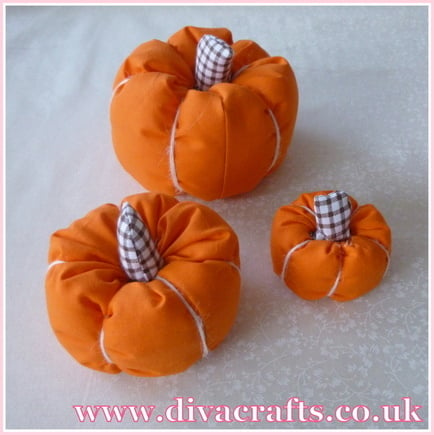
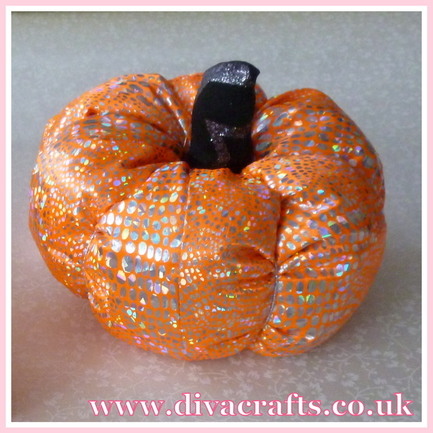
    Step 3: take the fabric for the stork, fold in half and sew then turn right side out, stuff and sew the bottom edge. And then with a hot glue gun (you can sew if you'd rather) stick the stork in the top of the pumpkin. You can always make different sizes, have a look at the ones below, I even made one using hologram fabric!
     
    fabric pumpkin free project diva crafts (4)
     
    fabric pumpkin free project diva crafts (5)
     
    fabric pumpkin free project diva crafts (6)
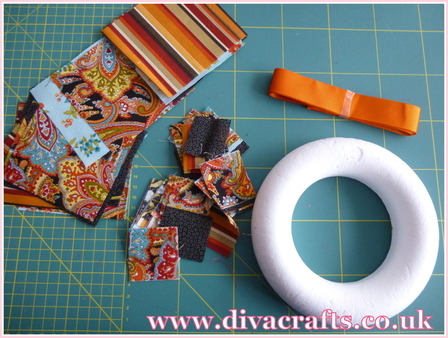
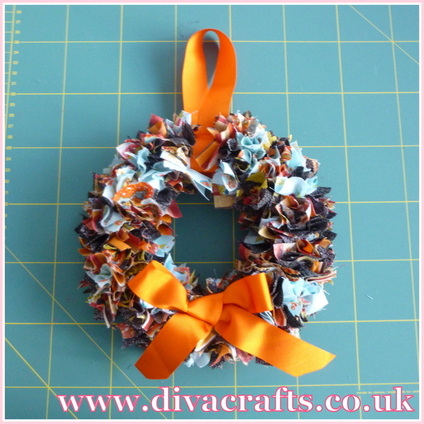
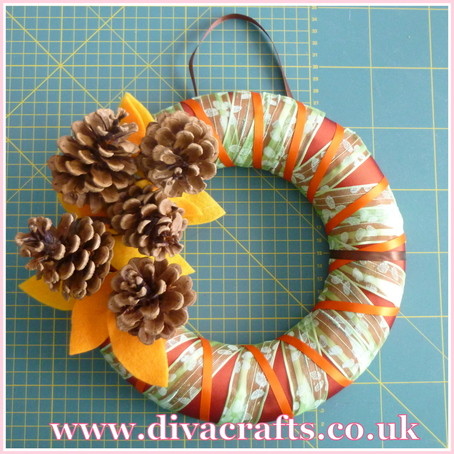
  3. Hi everyone, here is a super quick and easy mini project for you. How to make a fab autumn wreath using only small squares of fabric, some ribbon and a knitting needle or the 'wrong' end of a crochet hook.

    autumn wreath free mini project diva crafts (1)

    All you need to do is cut your fabric into small squares, this is a great way to use up scraps!, and simply push them into the polystyrene wreath using a knitting needle or the end of the crochet hook and they will fold up once stuck in, and look really pretty. Simply fill the wreath up and add a ribbon bow and tie so you can hang it up! A great project to do with children or whilst watching the TV!

    autumn wreath free mini project diva crafts (2)

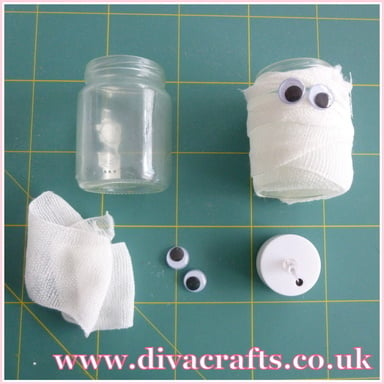
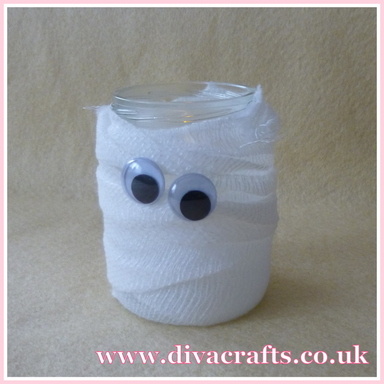
  4. Hi everyone, we have a fab quick mini Hallowe'en themed project for you, this one is great if you have children and free from mess!. You will need: a clean jar, a bandage, goo goo eyes and some glue.

    mini project spooky mummy jar halloween diva crafts (1)

    All you have to do is: wrap the bandage around the jar and seal in place with some glue. Stick on the goo goo eyes. Super simple, we added a little battery powered tealight to make him glow. Happy crafting!

    mini project spooky mummy jar halloween diva crafts (2)