Felt Christmas Trees Diva Loves Week 46
Posted on
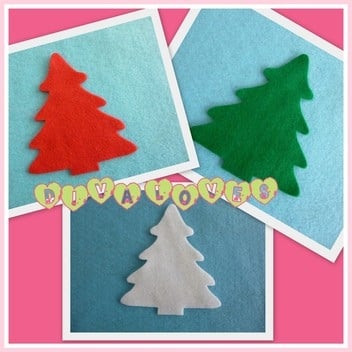
Carrying on our christmas products them, this weeks Diva Loves showcases our felt christmas trees. The trees are available in green, red or white and can be found if you click here.
Posted on
Carrying on our christmas products them, this weeks Diva Loves showcases our felt christmas trees. The trees are available in green, red or white and can be found if you click here.

Posted on
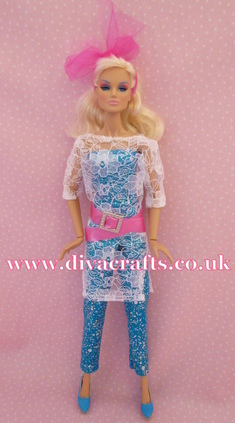
Hi Jem fans, just to let you know there is a big selection of truly outrageous Jem cartoon fashions now available, for both Hasbro Jem and Integrity Jem dolls. To view the Jem fashions please click here.

Posted on
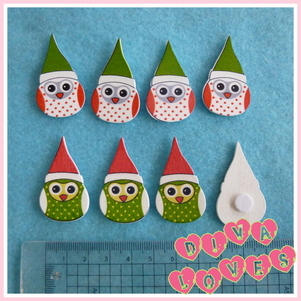
This week's Diva Loves we are showcasing our new wooden christmas owls! These adorbale owls would be great for any paper crafts project. To view the owls please click here.
Posted on
Hi everyone, we have a free project for you using our new fabric scraps pack, you can view the pack here.
Step 1: I took a 100gm fabric scraps pack and I sorted the long pieces and cut them if needed to make them even and then arranged them into 'light & dark' tones and machined the strips together. I made sure I always started from the same edge, and then when I had finished I trimmed the bottom of my fabric with a rotary cutter, to make it even, the overall size was 12 inch x 30 inch. I folded the fabric in half and sewed the side seam, so now I have a tube of fabric.
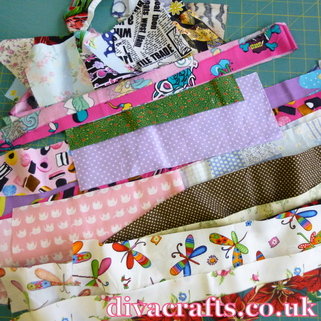
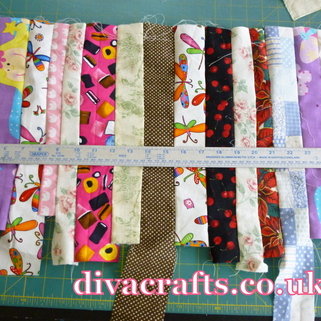
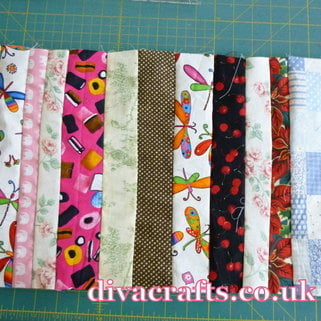
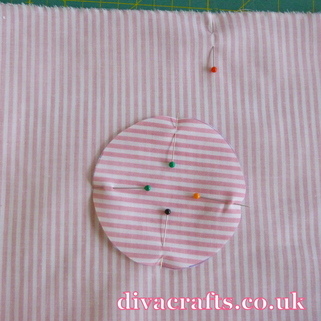
Step 2: I then cut out a circle of fabric approx 4inch across, I marked the quarters with pins, I also marked the bag into 4 sections. Start by matching the pin quarters on the bag with the pins on the base, and pleating the fabric between the pins. take care with machining the fabric as ther are a lot of pins.
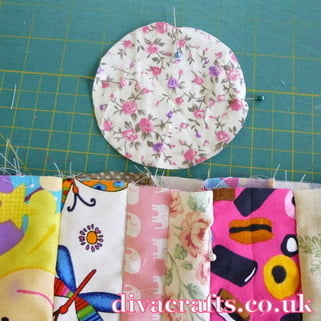
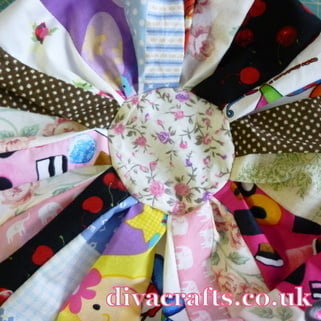
The bottom of the bag will look like this:
Step 3: Cut the lining the same size and another circle, however when joinging the side seam of the lining, leave a 3 " gap FOR TURNING later on in the project.
Step 4: Make sure both parts of the bags are inside out, and pin the top edge together and sew. I found sewing the fabric easier if the 'lining' was on the bottom and the 'seams' are on the top and all the fabric lays the same way.
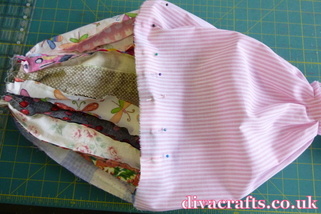
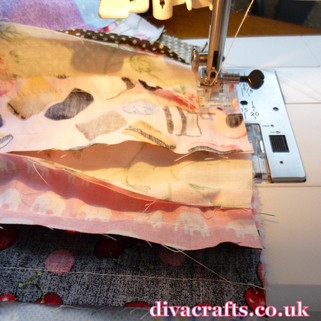
Step 5: Turn your bag the right way out, and push the lining back into the bag, your bag should stand up on it's own.
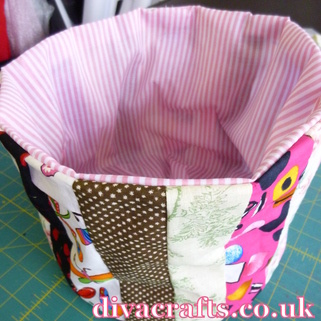
Step 6: I machined around the bag close to the top. Then I made a channel for my ribbon, by machining 2 rows of stitches, take care that these are wide enough for your ribbon / cord. U using a seam ripper or being careful with a pair of scissors, lay your bag flat , so you can find 'half' and make a small hole in the channel just in the outer fabric to insert your ribbon.
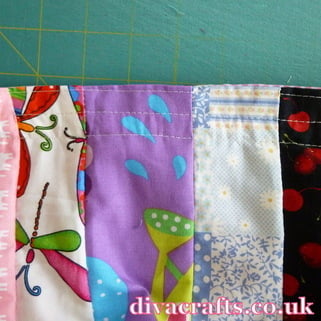
After you've put your ribbon in, your bag is finished!
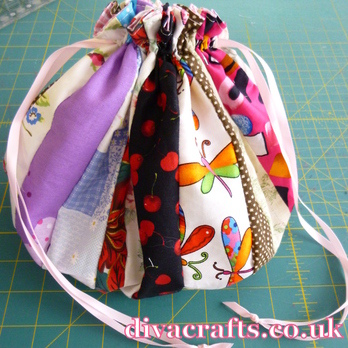
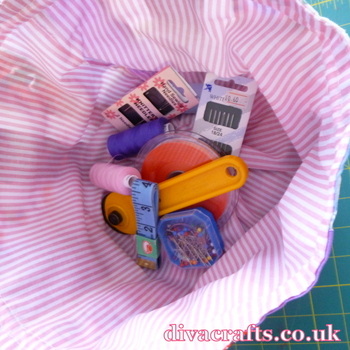
For alternatives why not use brass eyelets instead of making a channel and use a thick CORD for a different look, try making the bag taller, mine was 12 x 30 and then just adjust the base circle, makes an ideal sewing bag , why not make one for a christmas present and filll it with a few basic sewing items.
Posted on
September offer of the Month
This months special offer is 10% off all of our ribbon bundles! Happy crafting.
Posted on
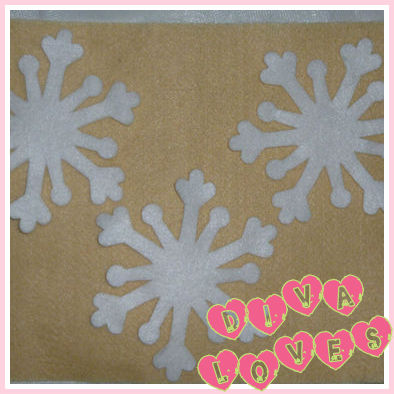
Hi everyone, this week's Diva Loves is about our new die cut felt snowflakes, they are made from white felt and come in a pack of 10. Don't forget we also have other felt shapes for sale, you can view them all here.
Posted on
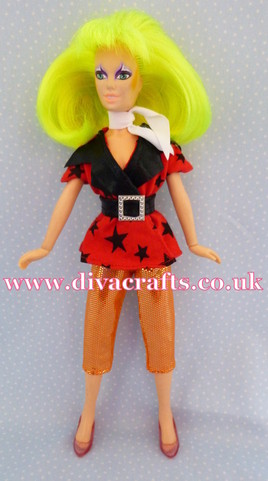
Hi JEM fans, just to let you know that in September we will be having a cartoon fashions collection. We will be releasing your favourite fashions from the cartoon. Here's a sneak peak!
Posted on
This week's Diva Loves is all about our adirable cartoon zebra fabric, it is 100% cotton and 112cm wide! This fabric is too cute and can be found here.

Posted on
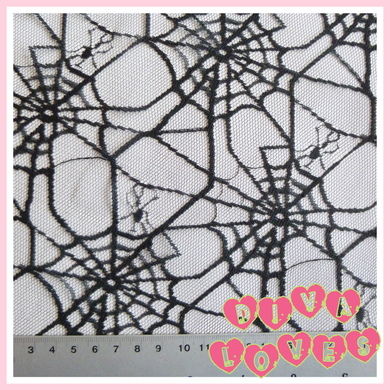
For this weeks Diva Loves we have chosen our new spider web netting. Great for halloween costumes, goth or the burlesque look. You can find it here.
Posted on
Hi everyone, for Diva Loves week 41 we have chosen our brand new 100% cotton crocheted with love ribbon, it is 15mm wide and 100% biodegradable. To view the ribbon please click here.

Posted on
Diva Loves week 40! This week we are showcasing our NEW 100 gram fabric pack, the pack includes squares and strips of cotton and polycotton fabric. The scraps bag can be found here.

Posted on
Hi everyone, we have a quick and cute project for you this month, how to make a washing up liquid bottle apron! These aprons are super cute and could be made to match your kitchen and would be a fab gift! Instructions below!
Happy Crafting
Carole
Step 1: take a bottle of washing up liquid and make an apron pattern to fit, the bottle in the picture is a smaller sized bottle. I've added the measurements to give you an idea. Take some fabric or PVC and cut your pattern out, for the trimming you can use ricrac or narrow bias binding.
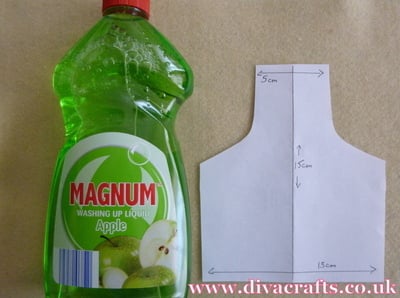
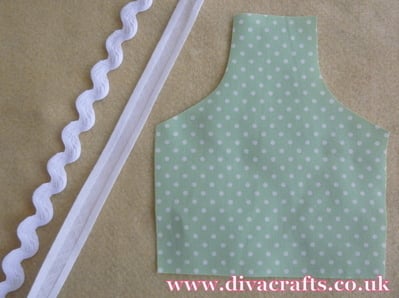
Step 2: First, hem the 2 short sides and the bottom of the apron, add bias binding to just the top of the apron. leaving a 'end ' of bias to make the tying strap, sew the bias around the curved edge, carry on machining but leave enough tape to the 'neck band' and carry on down the other side, again leaving enough tape to tie.
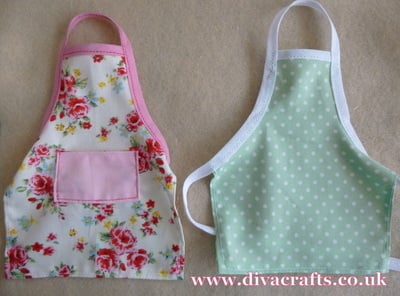
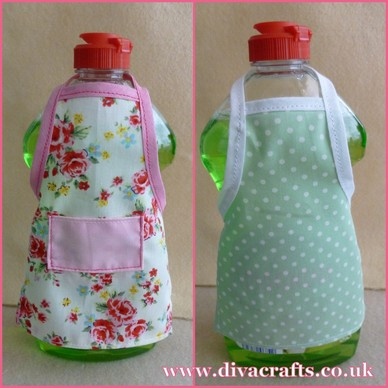
Tips: why not add a pocket ?, trim with lace or curve the bottom of the apron instead of leaving it straight for a more vintage look.
Posted on
Hi everyone, and it's August! where is the year going?! Our offer this month is a free tape measure and unpick for any customer who spends over £10 (excluding p&p). No need for a code, we will put your freebie in with your parcel! (UK only due to postal restrictions, subject to availability).
Happy crafting!
Carole & Gina
Posted on
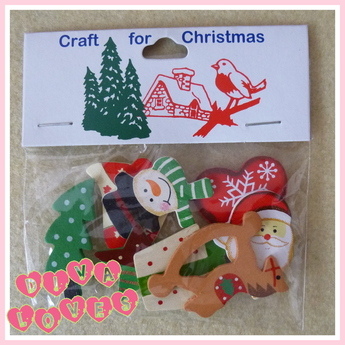
It's never too early for christmas for crafters, so Diva Lovcs week 39 is all about wooden christmas shapes, they can be found here in the paper crafts section, we have lots of new shapes available!
Posted on
Diva Loves week 38 - This week we are showcasing our new iron on motifs. We have 8 designs to choose from, a great assortment for boys or girls. To view the motifs please click here.

Posted on
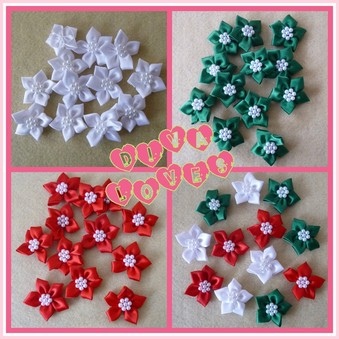
Diva Loves week 37! This week we have chosen our new satin ribbon poinsettia embellishments. They come in a pack of 12, and there are 4 packs to chose from: red, white, green or mixed. These are great for paper or fabric crafts, and we know how crafters love to start early for christmas! To view the poinsettias please click here.
Posted on
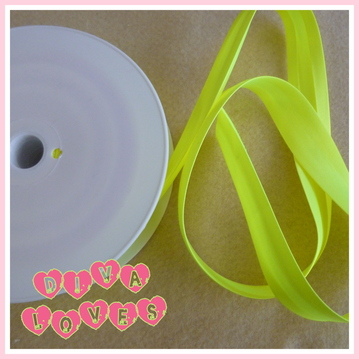
Diva Loves week 36 is here! This week's pick is our new neon coloured satin bias binding, available in 3 colours, yellow, orange & green, it is 19mm wide and sold by the metre! To view the binding please click here.
Posted on
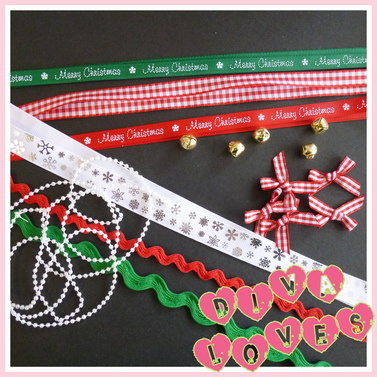
It's never too early for christmas for us crafters! So why not take a look at our christmas trimmings pack, it includes, ribbon, ric rac, bells, beads and bows! To view the trimming pack please click here.
Posted on
July Special Offer, 10% off both of our Harumika inspired fabric packs, which can be found here. This offer ends on the 31st july 2013.
Posted on
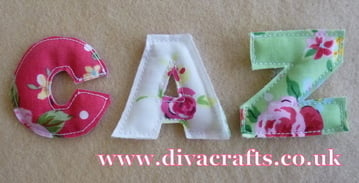
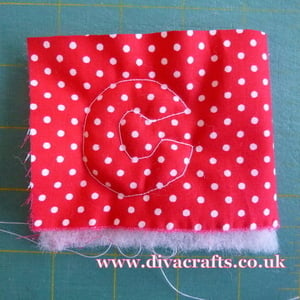
This is a quick and simple project to do. You will need, some paper, scissors, fabric, wadding and a sewing machine.
Step 1: Cut out letters from paper. Then fold over your fabric with wadding in the middle, place the letter on the fabric, and you can either draw around it with a special fabric pen or pin it on.
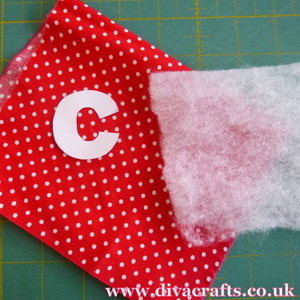
Step 2: Sew around the letter and then cut it out! It's that simple and really quick to do.
Here's our finished letters.
