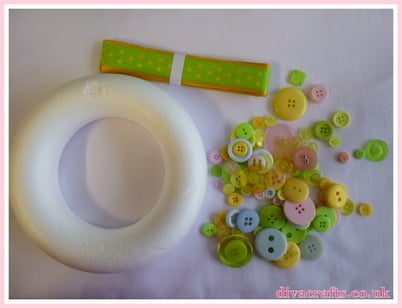
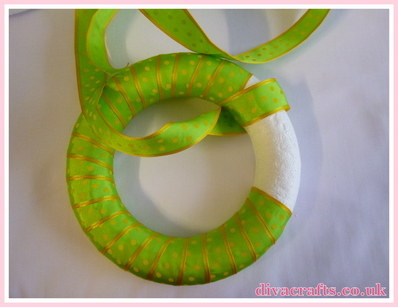
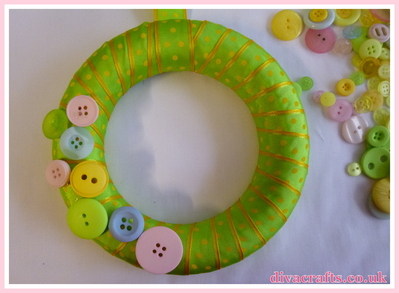
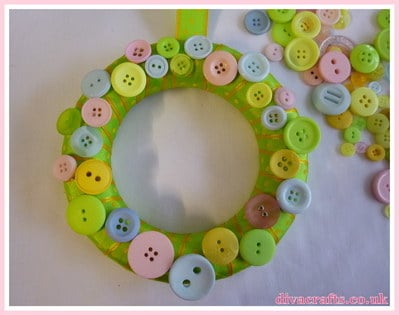
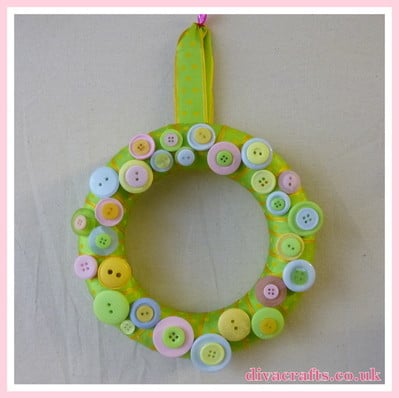
Happy March everyone! we have two fabulous free tutorials for you today! First we have the easter egg cone, and our second project is how to make an easter button wreath. Happy crafting
Carole & Gina
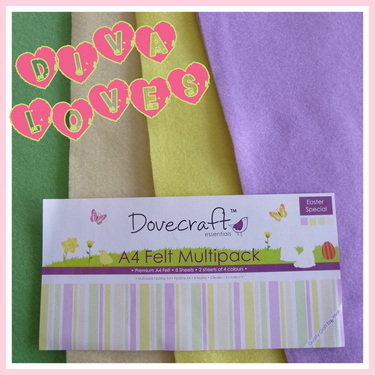
You will need: Paper, two different fabrics, sewing machine, needle & thread, buttons/embellishments and ribbon.
Step 1: Making your cone template. This is really easy to do, draw a "slice" (think cake) on a piece of paper, fold over one edge so it's doubled, and cut it out.
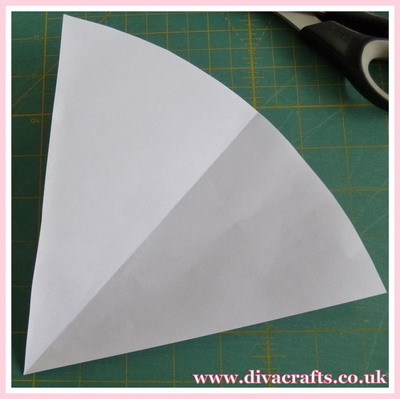
Step 2: Cut one cone shape out from both of your fabrics, then machine alone the top edge with the "right" sides together, and clip the edge with care making sure you do not cut the stitches.
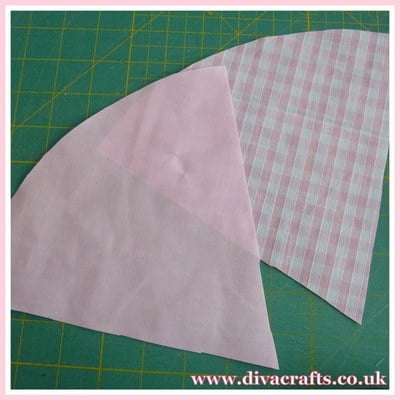
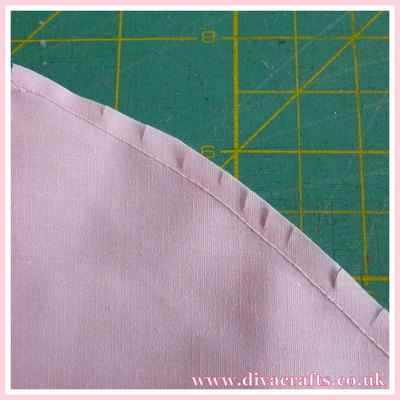
Step 3: Open out the cone (see picture) and fold over, still with the right sides together. And now place 2 pins slightly apart on the plain coloured fabric, and sew along this edge, but leaving the piece between the 2 pins open (this is used for turning).
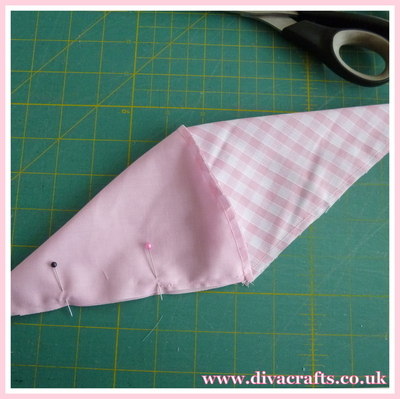
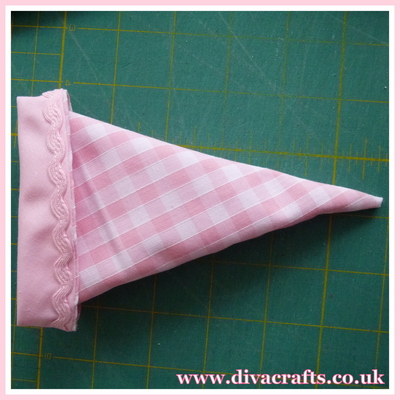
Step 4: Carefully turn your cone the right way out, through the gap. Hand sew or machine the gap closed, and then carefully push the plain coloured fabric inside. See picture, I have also turned down the top a little.

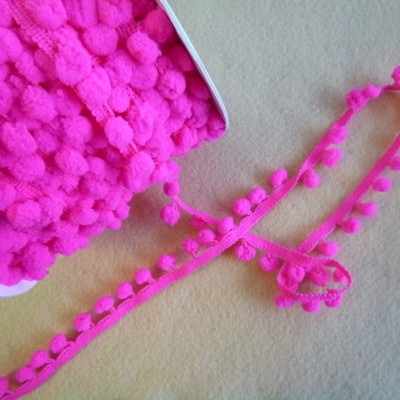
Step 5: How to decorate your cone. You can add anything you like to your cone, I have sew on some ric rac on the inside of the top, so when you fold the top down it can be seen. I have also added some ribbon handles and sew some buttons on them to hide the edge of them.
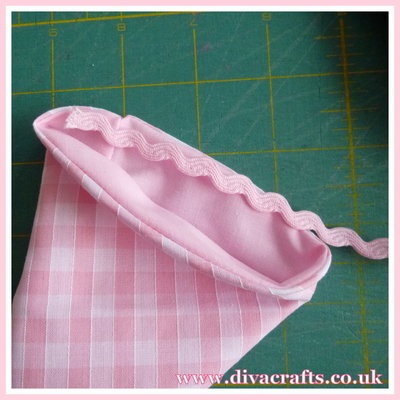
Here are some finished cones! we have filled them with easter eggs for the children. Or you could add some chocolates, gift vouchers or soaps for mum for mother's day!
